Overriding assets
Overriding Assets
An important subject in the USD non-destructive workflow is called Over. It is a mean to override or add data to a Prim (ie a 3D primitive) without changing the original.
In Autograph, you can override the Prims on a 3D Asset by first creating an empty scene and link (or reference) the 3D Asset.
We will see how to override a simple scene with a cube. First, let's download the scene, extract the .zip, and import the SimpleCube.usda into the Project Panel.
Then create a new scene and link/reference SimpleCube.usda in it. You can then double click on Scene to see it in the Viewport.
Note
You need to put the 3D Asset in a Scene in order to override an element in it! We don't allow authoring on the file itself as it would break the non-destructive workflow.
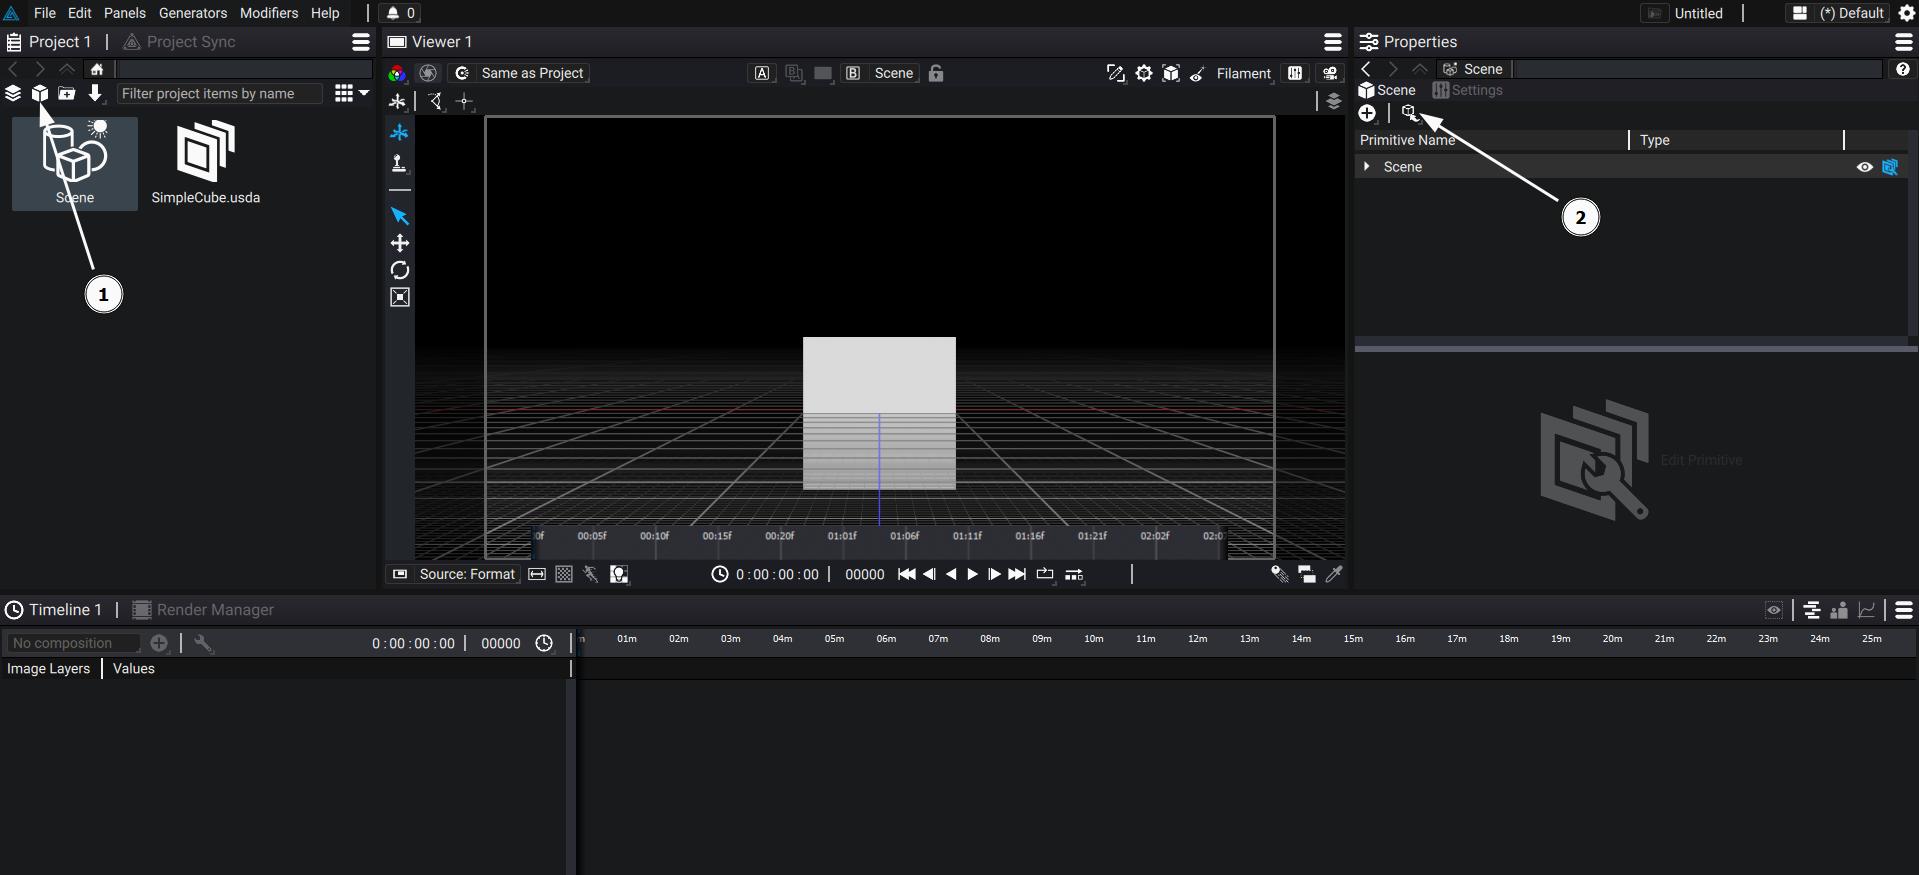
Select the element you would like to override (here the Cube) directly in the Viewport. This will automatically highlight the Prim in the Scene Graph. You can also click directly in the Scene Graph to select the cube.
We will now override the cube:
With the cube selected, click on the Edit Primitive Button. Once clicked, you will access the Cube Properties:
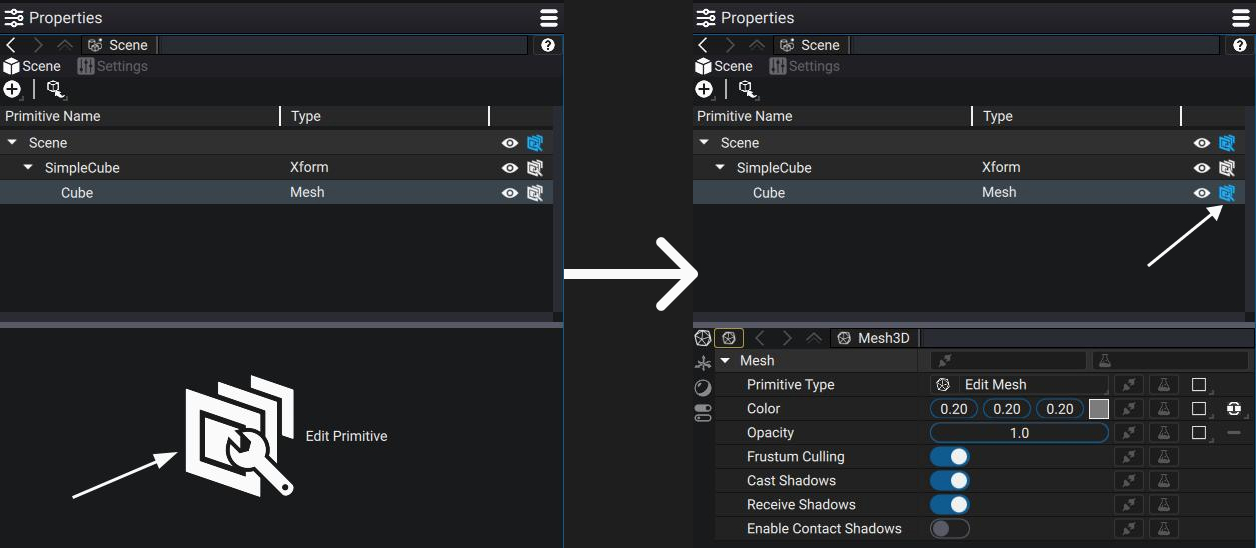
Notice how the Edit USD logo becomes blue, indicating that Autograph interacts with this Prim in some way.
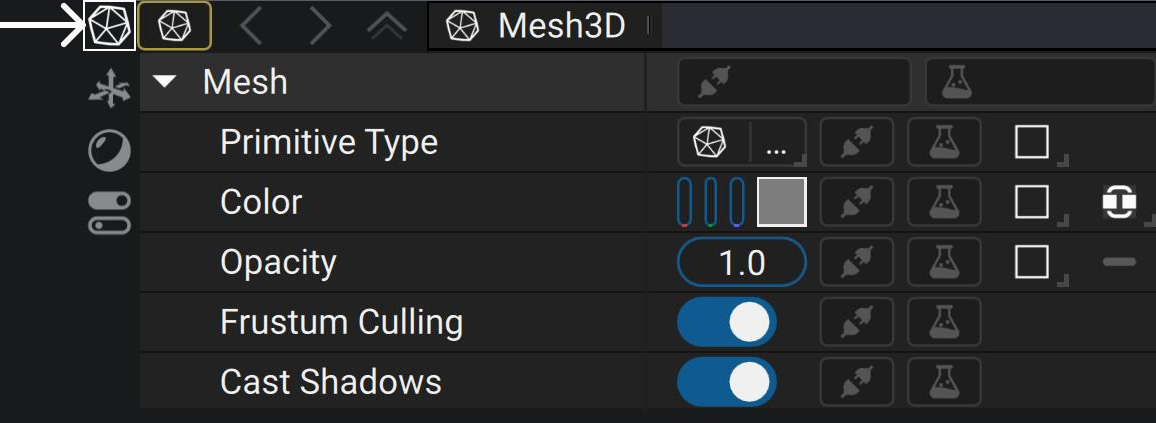
Let's inspect the Properties Tabs in details. Multiple vertical tabs have appeared, the number of which depending on the Prim Type you have overridden. They are 4 for a Mesh Prim.
The first one (here Mesh3D) is often relatives to the Type of the Prim. Here it opens the Mesh Properties:
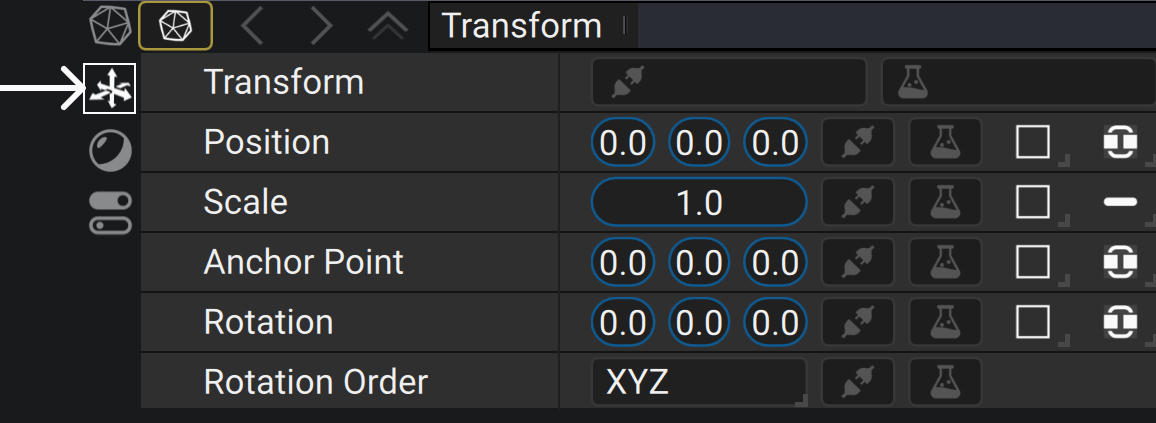
The second one (Transform) is relatives to the Transform of the Prim:
The third one (Material) is specific to Mesh and GeomSubset (which encodes a piece of the Mesh, ie a sub-mesh) Prims. It is used to apply an existing material to the Mesh or GeomSubset. For more information about material, see here.
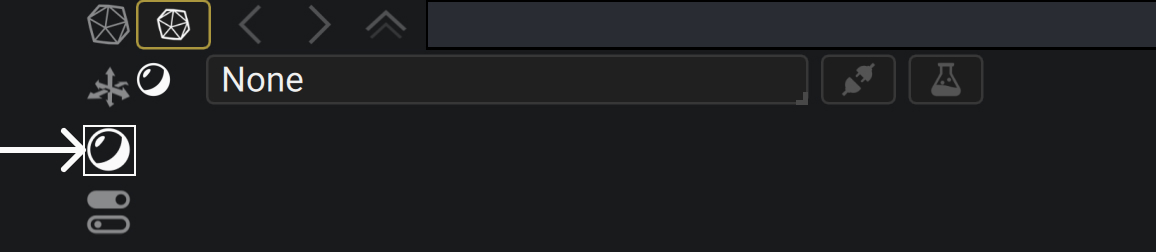
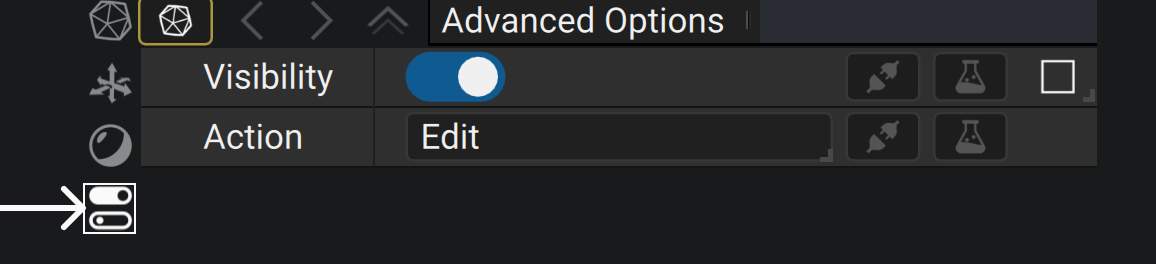
The last one (Advanced Option) is generic to all Prims and can be used to handle the Visibility and the Action done to the Prim:
Note
The Action is always set automatically depending on your action, and is almost never set manually. It can help you rapidly see if a Prim was Created, Overridden, or holding a reference. Here we see Edit because we are editing/overriding an existing Prim.
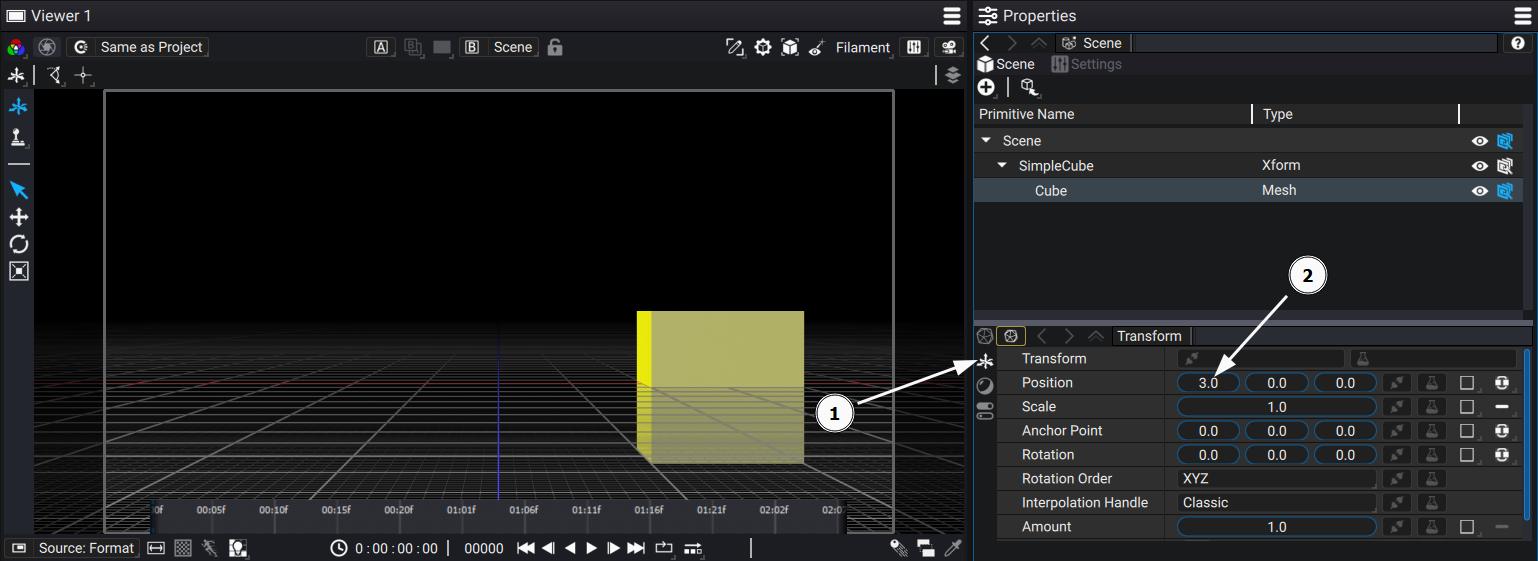
Let's go back to the Transform tab and set the X Position to 3 to finally create the override!
Note
If you use the Transform 3D Tool on a non overridden Prim, it will automatically creates an Over Prim and apply the Transformation to it!