Editing curve
Editing of existing points is done using the last four tools in this bar:
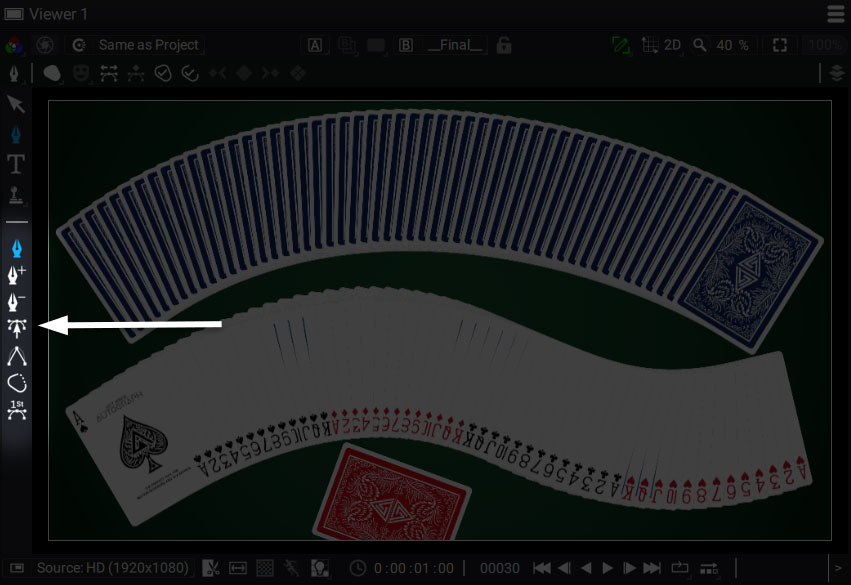
The editing modes are the last four buttons in the viewer left toolbar (when the Shape Tool is active).
Selecting and moving points is done with the tool pointed by the arrow.
- Shift key can be used for multiselection
- Clicking the path will move all points
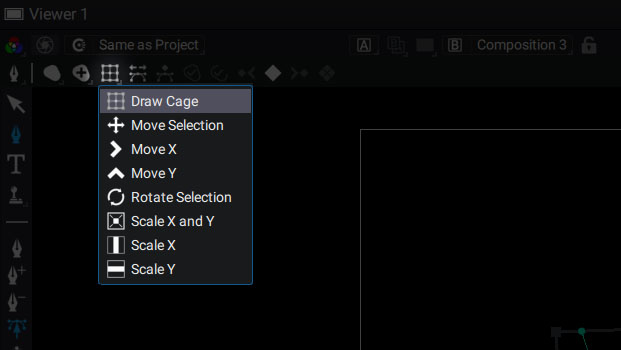
As soon as two points are selected, a selection cage is shown allowing to:
- Move: by clicking inside the cage
- Rotate: by pressing Alt and clicking inside the cage
- Scale: by clicking a corner, while pressing Shift key to break the aspect ratio
Pressing ++crtl++ allows to move the Anchoir Point
If you don't want to use shortcuts to switch from one tool to another, rotating and scaling, as well as moving along only one axis can be accessed using this menu :
Note
If you already added keyframes to animate a curve, a next keyframes will be added automatically when you change its shape at a different time.
-
 This button can be activated for ripple edit. If activated, the transform you apply to the points will be applied to all the already existing keyframes on these points.
 -
 These buttons may be use to quickly add a keyframe to the curve.
Note that if you already added a keyframe on the curve, the next keyframes will be added automatically when you move on the timeline and then move a point.
These next options are specific to the feather shapes: - 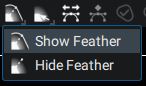 This option enable or disable the feather control line and points
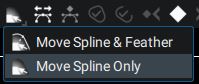 In its default behaviour, a feather point moves with the main control point. You can change this behavior with this option if you want to uncorrelate the control point and feather moves.
As soon as the feather's tangent is not parallel to the main control point's tangent, the feather and control point are unlinked for the tangents moves. However it will still be possible to move the control point and feather altogether (see video below)