Transform
After linking a graphic element to a layer’s Source parameter, you can use the Transform section to define the Positioning, Rotation, Scale and Skew of the layer using it.
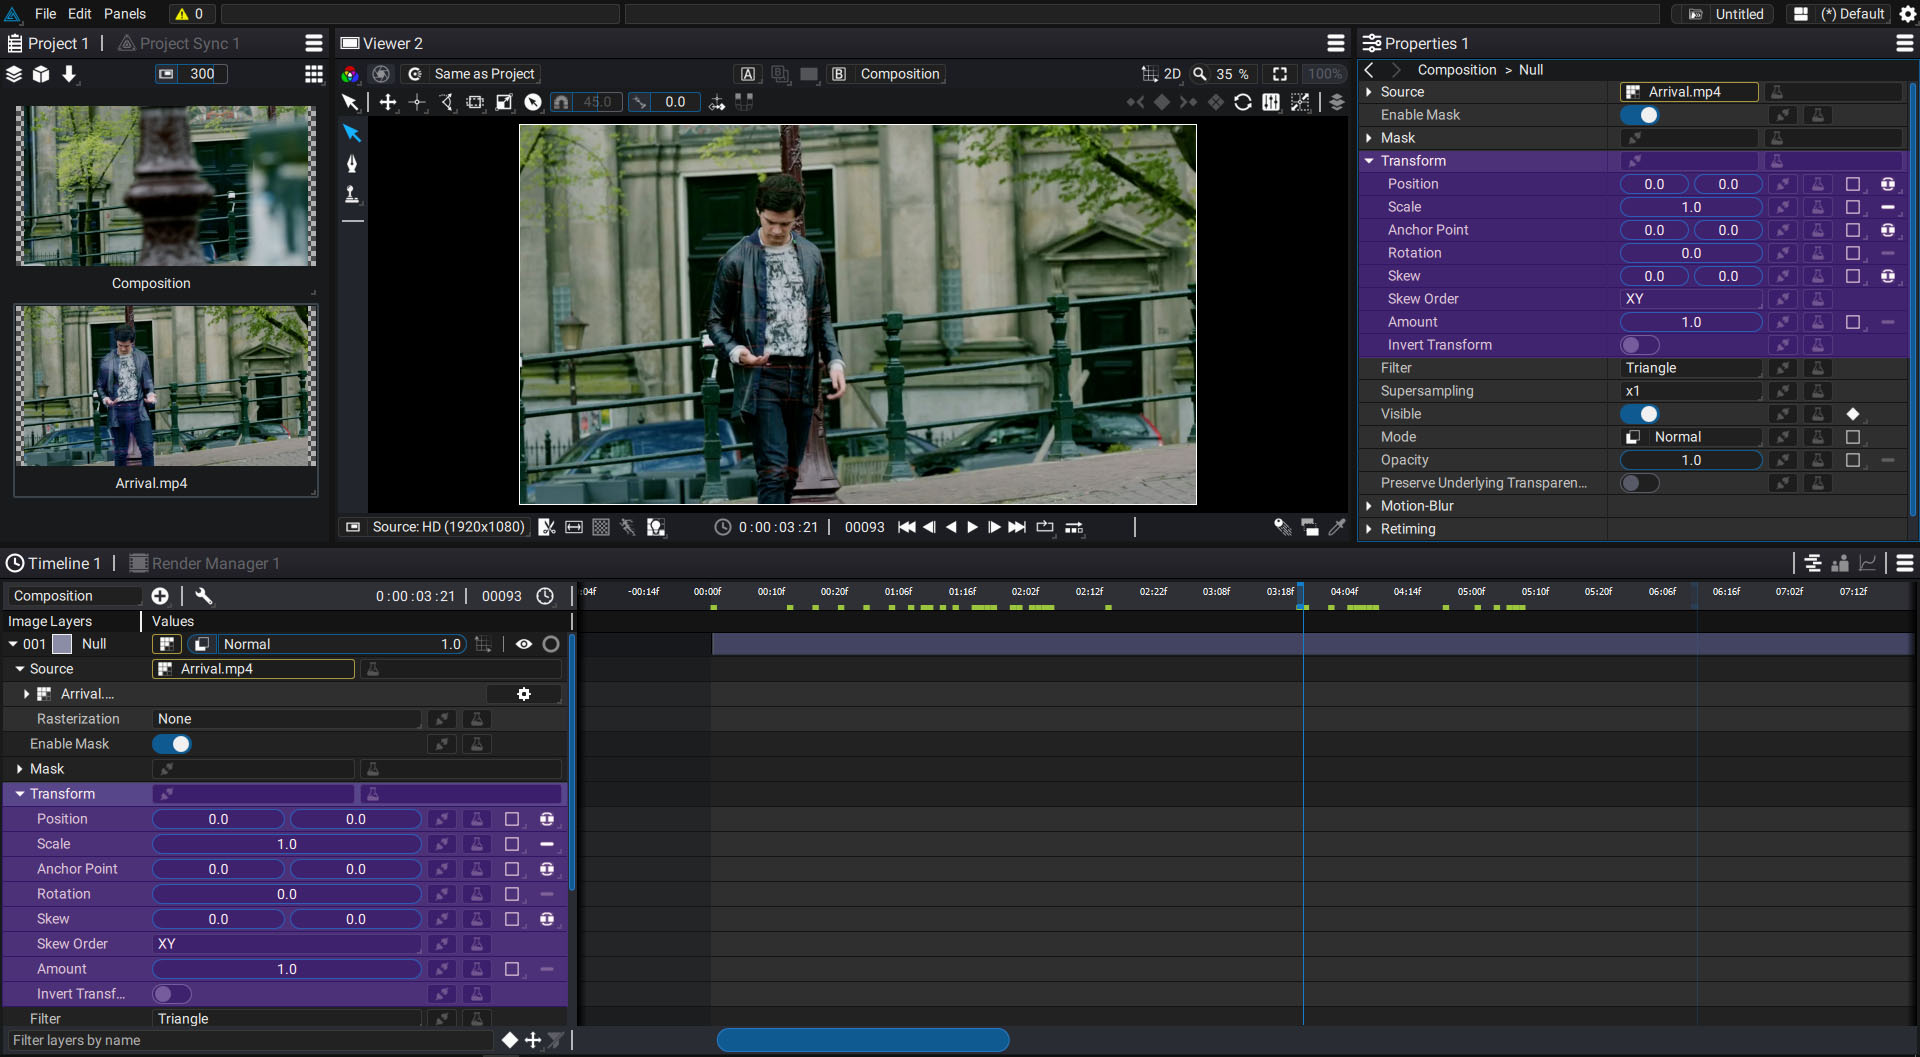
You can access this section either by unfolding a layer in the Stack or by clicking on it to display its parameters in the Properties panel:
Transform sub-section
In this section, you will find the following parameters that use Autograph's specific coordinate system:
- Position: 2D param, in unified mode by default
- Scale: 2D param, in single mode by default
- Anchor Point: 2D param, in unified mode by default
- Rotation: 1D param, in single mode only
- Skew: 2D param, in unified mode by default
- Skew order: non-numerical param; define if the X Skew will be applied before or after the Y Skew
- Amount: weight of the global transformation. Can also take values outside the range 0-1, even negative ones
- Inverse Transform: allows you to invert the transformation matrix
Anchor Point
The Anchor Point is the reference point used when determining a layer's Position values. Since an image is made up of a large number of pixels, saying that it is currently at Position (160,80) for example, does not make it possible to determine what it is in relation to - is it its upper right corner, lower left corner, or its center that is at these coordinates?
The values displayed in Position are therefore those of the Anchor Point positioned at the center of the image and with values (0,0) by default. This is also used as a pivot point during a rotation or as a suction or expansion point during a scale change.
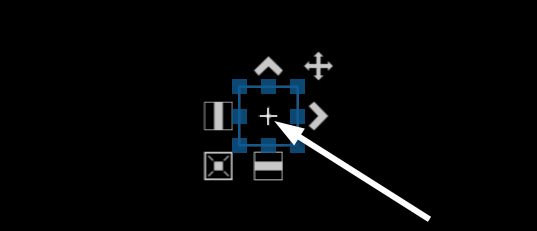
In order to view the position of the Anchor Point, simply position the cursor over the Viewer with the Move layers tool activated. It is represented by a small cross in the middle of the Transformation Widget.
Changing the Anchor Point values will not change the position of this reference point; but, it will cause all image pixels to shift accordingly.
Let's use the example of an image with a size of 600×300 pixels. By dragging it into a composition, it will be placed in the center of the composition, with an Anchor Point in the center of the layer source.
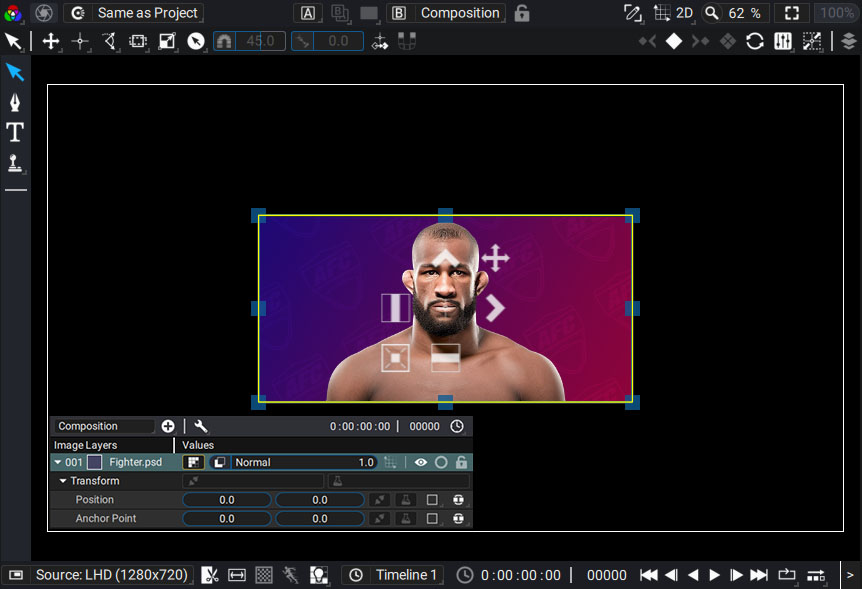
If you move this layer, the Position values will be modified, but not those of the Anchor Point which will remain positioned at the center of the source.
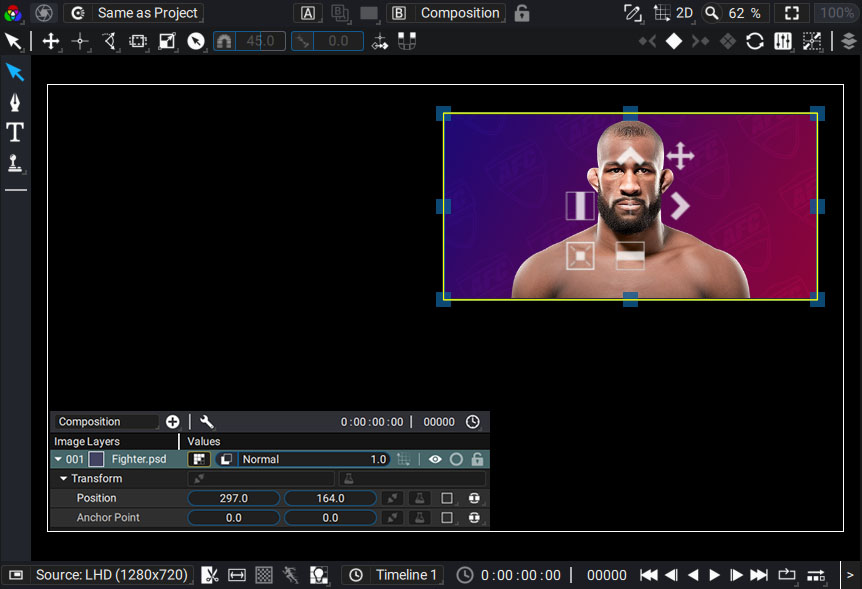
If your image is 600 pixels wide, that means it extends 300 pixels to the left and 300 pixels to the right. By entering the value 300 in the X component of the Anchor Point parameter, we place it on the right edge of the image; but, since the Position values will remain the same, all source pixels will move to the left, until reaching the right edge.
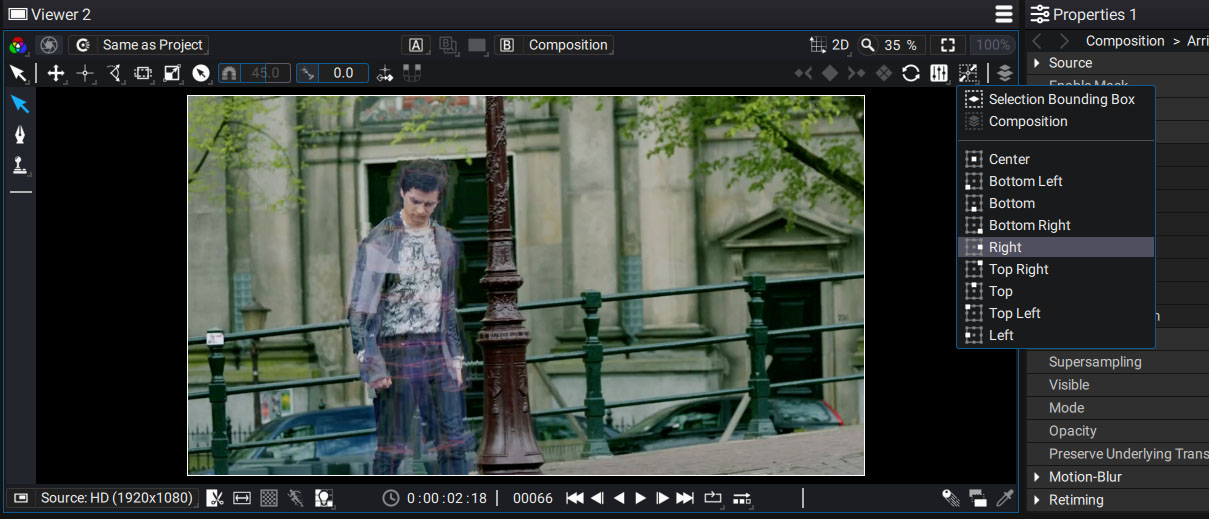
Anchor Point tool in the Viewer
The Viewer has a tool that allows you to easily move the Anchor Point to a corner, an edge, or the center of the image, without moving the image pixels. New values will be calculated for both the Position and the Anchor Point.
You can choose to move it according to:
- The source of the currently selected layer
- The composition coordinate system
Transformation amount
Amount is the last parameter of the Transform section and it allows you to determine the influence of this transformation. By setting this value to 0, the transformation has no effect and the layer returns to its original place when it was added to the stack - in the center of the composition.
Note that you don't have to limit yourself to the 0-1 interval. If a layer in the center of the composition is moved 200 pixels to the right and the Amount is set to 2.0, then the movement will be twice as much, bringing the layer 400 pixels to the right.
Similarly, setting this value to -2.0 will not only move the layer twice as far, but it will also move it in the other direction, to the left at -400 pixels.
Transformation Matrix and Modifiers
All transformation parameters that make up the Transform section, including Amount, end up applying what is called a Transformation Matrix on the layer. It is a mathematical object that allows you to store changes in Position, Rotation, Scale and Skew in a single element.
When you apply Transform Modifiers, such as Card3D, Corner Pin or Follow Path, they will act directly on this matrix, and concatenate between them. Once this resulting matrix is obtained, AutoDE applies the corresponding transformation in one go, which allows you to have only one rasterization, thus avoiding the appearance of pixelation effects.
But a very important point to keep in mind when adding these transformation Modifiers and ONLY in the case of Transforms:
Concatenating matrices is always done starting from the last one, going back gradually to the first one. Autograph chooses to represent these Modifiers in the same order and not take any liberties with this mathematical tool and respect this convention.
As a result, there is a major difference with all the other Modifiers in the software. The list must be read from bottom to top in order for users to know in which order these Transform modifiers are executed.
Inverse Transform
This option allows you to invert the transformation matrix. It is particularly useful when one transformation is linked to another, allowing for compensation when stabilizing a tracked plate, for example.
3D Transformation
When a layer has its 3D option activated, the current Transform section is replaced by another one with 3D parameters. 2D transformations still exist and can be combined with 3D transformations. To learn more about this, please refer to the 3D Mode section.