Sub-comp specific params
If a composition is used as a layer source, additional parameters will appear. Let's unfold the main line of this sub-comp to see what happens:
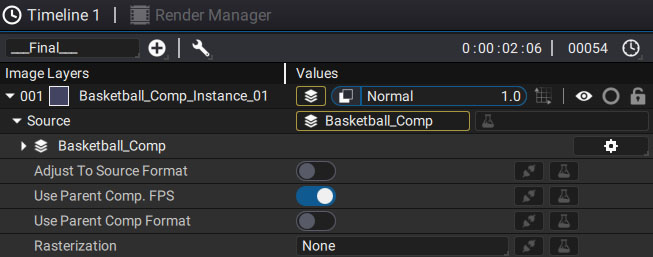
As for each source, it is possible to click on the triangle to the left of its name to access its parameters. There are also three checkbox params, just below:
- Use Parent Comp. Format
- Adjust to Source Format
- Use Parent Comp. FPS
Use Parent Comp. Format (OFF by default)
Let's take a look at the following case in which we create two compositions in the project panel:
- "Comp1", with a 640x480 format (Preset: "PC VIDEO")
- "Comp2", with a 1920x1080 format (Preset: "HD")
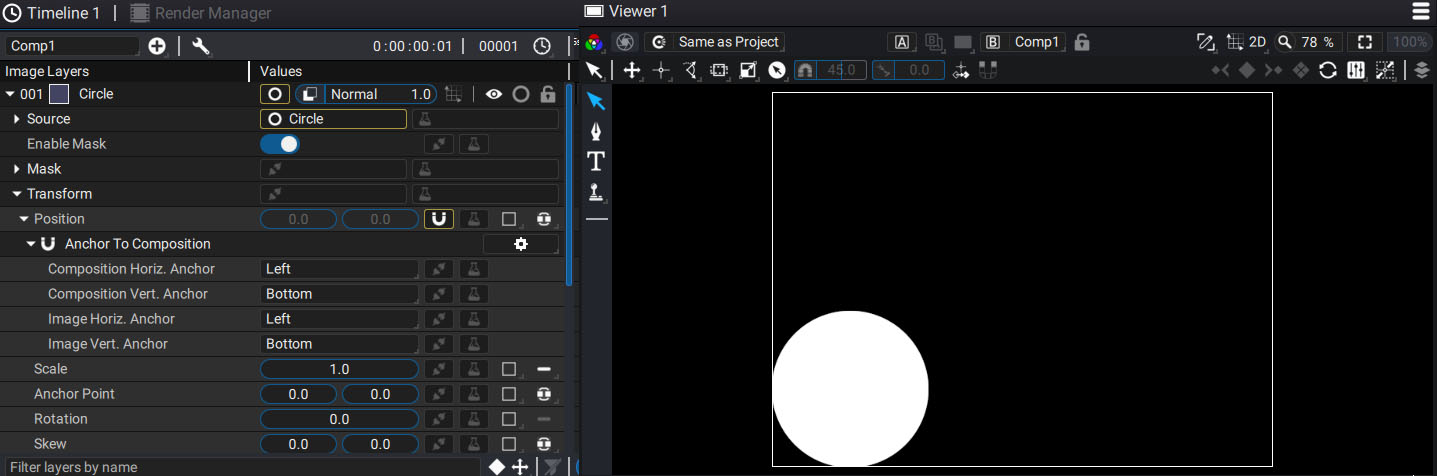
In "Comp1":
- We add a simple Circle generator, creating a new layer
- On the layer’s Transform > Position param, we add Anchor To Composition to stick to the left edge of the composition, no matter the format.
In "Comp2":
- We drag and drop "Comp1" as a new layer to use it as a sub-comp.
- We click on the triangle in the main line to unfold the parameters
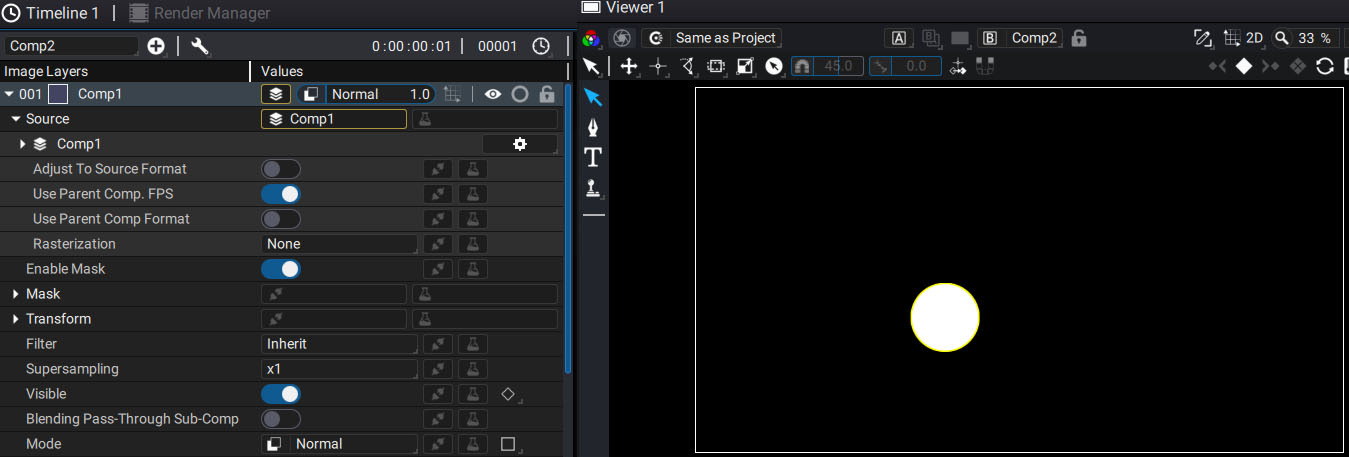
The Anchor To Composition generator moves the circle to stick it to the left edge of Comp1, according to its format.
Note
Just a note about the terminology:
- Because "Comp1" is a layer of "Comp2", we can say that "Comp1" is a child of "Comp2"
- On the other hand, we could also say that "Comp2" is a "parent" of Comp1.
If Use Parent Comp. Format is turned ON, this format will be replaced by the one of its parents instead. Now, the Circle will stick to the left edge of Comp2
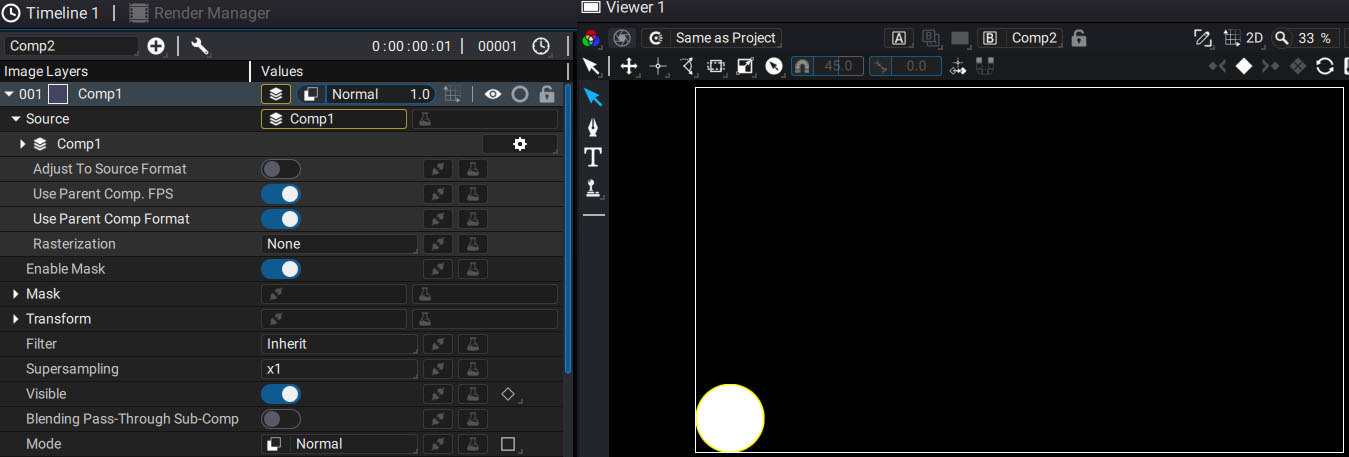
This option is particularly useful when creating a Responsive Design composition, which can adapt its content to a change in format. If the format of the main composition is changed, the sub-compositions inside can then pick up on these changes and adapt as well.
Adjust to Source Format (OFF by default)
Let's assume the following case which is mostly similar with some minors differences:
We create two compositions in the project panel:
- “Comp1”, with a 640×480 format (Preset: "PC VIDEO")
- Comp2, with a 1920×1080 format (Preset: "HD")
In Comp1:
- We add a simple Circle generator, creating a new layer
- We move this circle outside of the composition format. If the Viewer's clipping is ON, the circle should be partially cropped
Now let's drop Comp1 into Comp2 as a new sub-comp. By default, we can see that the circle is no longer cropped.
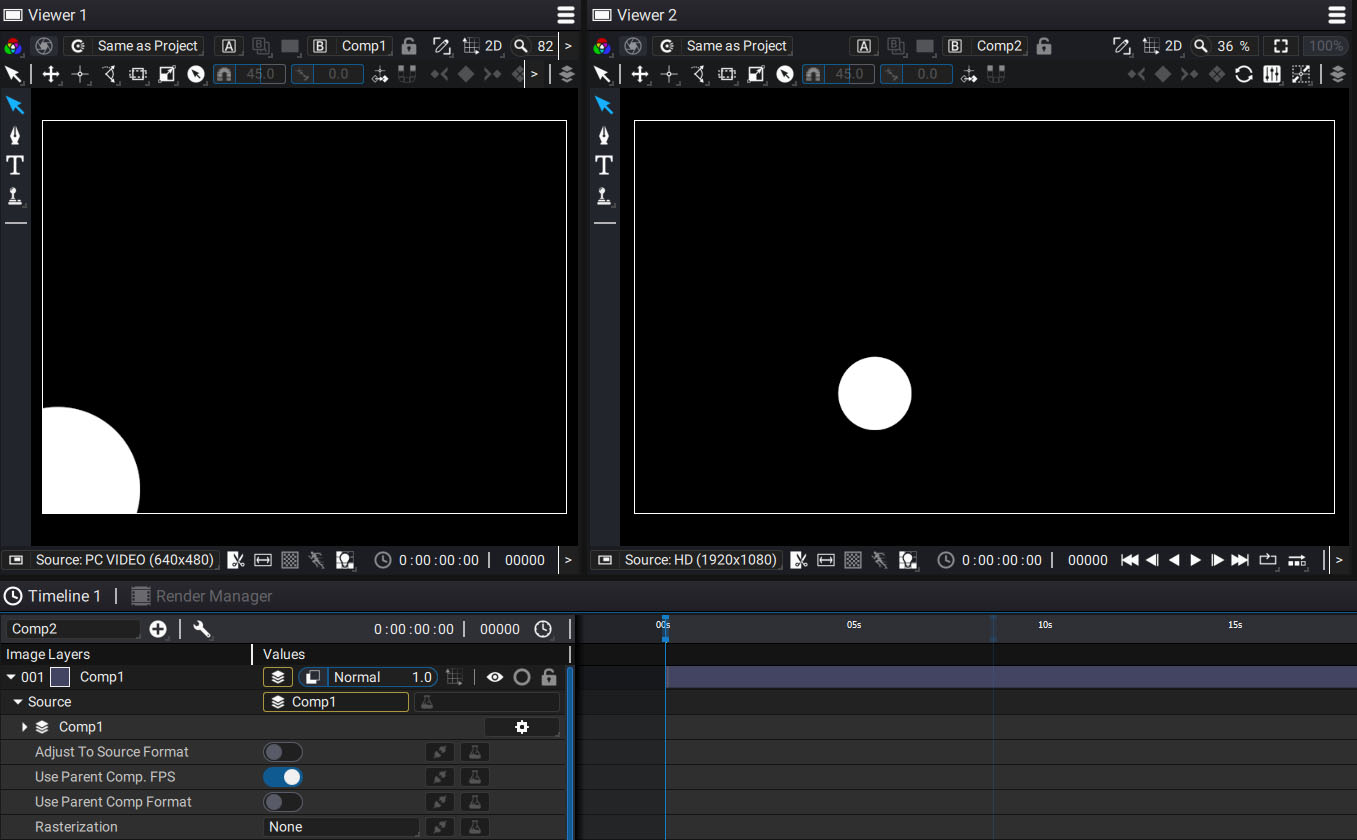
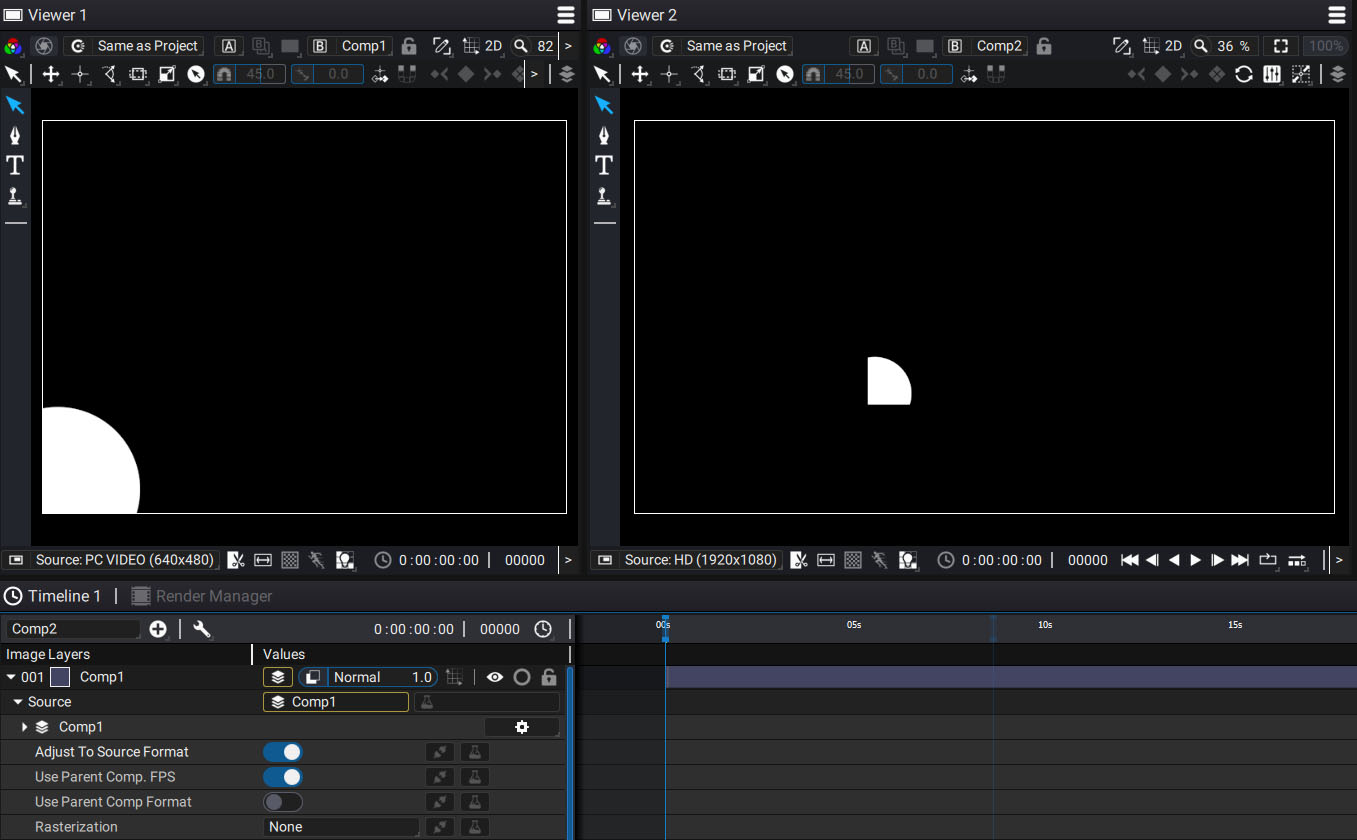
In the composition section, we mentioned that a comp embeds a format, but that it is also infinite in size. By default, when using a sub-comp, Autograph doesn't crop its content according its format; but, if Adjust to Source Format is turned ON, the source format ("Comp1" here), will be used to crop the content.
Use Parent Comp. FPS (ON by default)
Each comp embeds a frame rate, defining the number of Frames Per Second, or FPS for short.
Let's assume the following case:
We create two compositions in the project panel:
- Comp1: HD Format at 8 FPS
- Comp2: HD Format at 30 FPS
In Comp1, a simple circle is animated, moving in loop from left to right:
If we drop Comp1 into Comp2 as a sub-comp:
- The Parent Comp. FPS will replace the source FPS by default. So, Comp1 will inherit the FPS from Comp2 and will be played at 30 FPS.
- If Parent Comp. FPS is turned OFF, this sub-comp will be played using its original FPS, by using the same images several time
Keep in mind that now, 30 frames per second are computed for this sub-comp; but, by showing the same image several times, we visually see a jerky animation. The duration will be the same, because Autograph uses the second and not the frame as its timebase, but the number of different intermediate positions will be lower than the one created by the parent comp