Filters
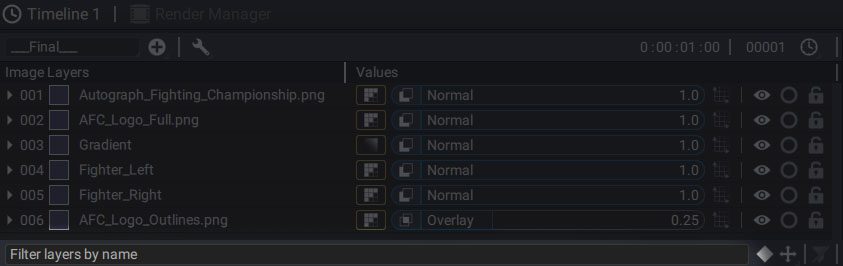
The stack contains many items, and unfolding hundreds of parameters can make navigation difficult. Autograph offers a filter system to easily access the most used parameters or reduce the number of layers displayed in the stack.
Filtering layers by name
At the bottom of the stack there is a field to define a string. If this string can be found in a layer name, whether it is at the beginning, in the middle, or at the end, this layer will always be visible. All layers that do not contain this string will be visually removed from the stack, although Autograph will still use them for calculating images, visible in the viewer.
The string in the layer names will be highlighted in green and the outline of the search bar at the bottom of the stack will also be green.
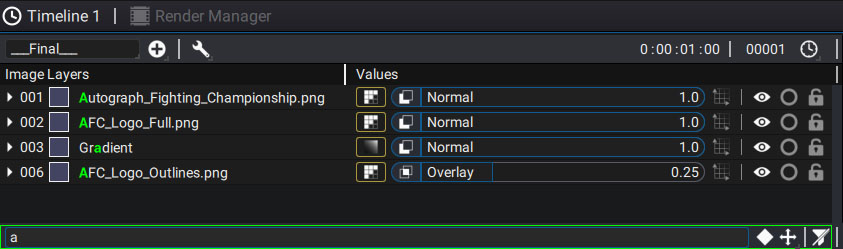
Whenever a filter is active, whether it is the name search or the other filters described below, this green color will indicate that you are not viewing the entire stack.
You may also notice that some indexes are missing in the layer numbering on the left of the stack. This is another indication that a filter is currently in use.
After selecting a few layers in the stack, you can apply filters to display only certain parameters for this selection. If nothing is selected, all layers will be affected. These filters can be cumulative or not. To add a filter to the existing ones, just press the SHIFT key in the menu or by using a shortcut. Without this key, adding a new filter will remove the previous ones.
Filtering layers containing keyframes:
By clicking the diamond at the bottom right of the stack, only the parameters containing keyframes will be displayed. The shortcut for this action is U.
Filtering layers by parameter type:
Next to the keyframe filter button, a drop-down menu gives you access to the transformation parameter filters as well as additional options.
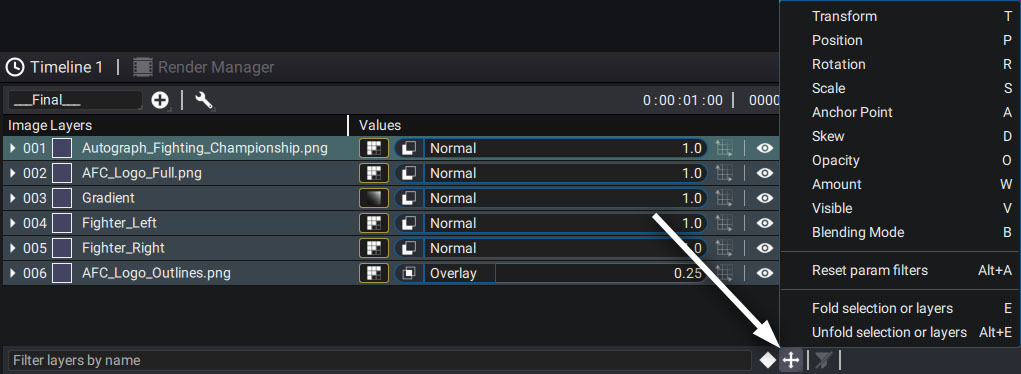
You will see:
- Transform: displays and unfolds all Transform params. Shortcut is T
- Position: shortcut is P
- Rotation: shortcut is R
- Scale: shortcut is S
- Anchor Point: shortcut is A
- Skew: shortcut is D, as in "deform"
- Opacity: shortcut is O
- Amount: shortcut is W, as in "weight",
- Visible: shortcut is V
- Blending Mode: shortcut is B
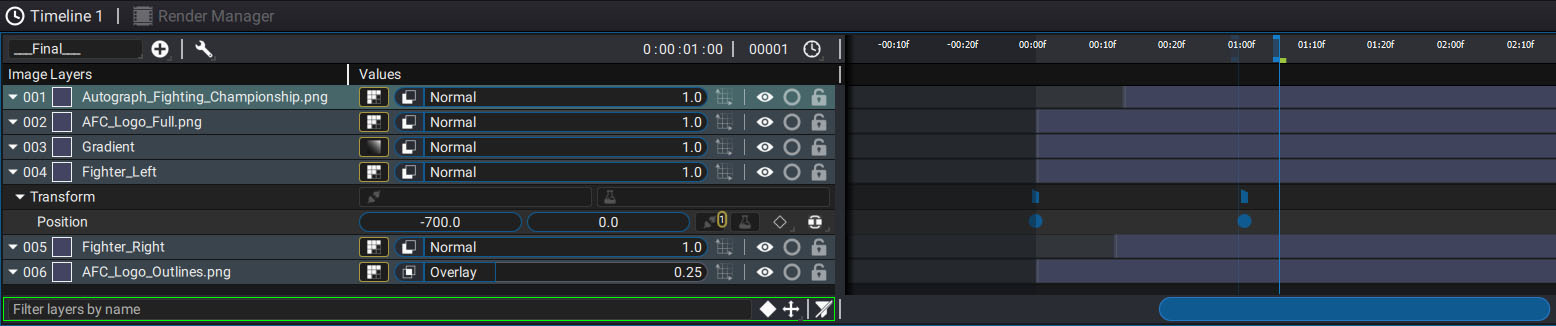
If a generator or modifiers are used by a parameter, they will also be visible when a filter is applied.
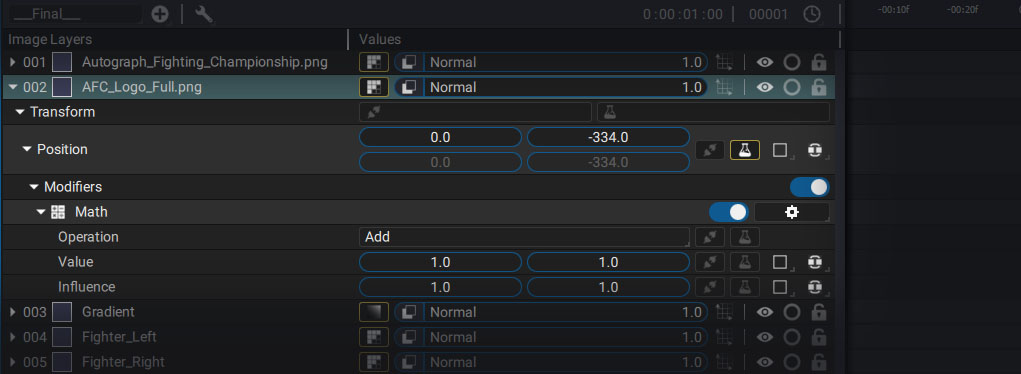
For example here with the parameter Position on which a modifier "Math " has been added:
Resetting filters:
Resetting param filters can be done for selected layers or all layers if nothing is selected. The shortcut is Alt+A
If no filter at all is applied to the current composition, the search field at the bottom will no longer be green.
Folding/unfolding layers and parameters
By pressing the shortcut E, you can fold the selected layers. Alt+E will do the opposite – unfold them.
During this process, if you have previously unfolded specific parameters, such as a layer source, Autograph will remember which parameters were unfolded. This way, you can fold a layer just to make more room in the stack, then unfold it and return to the same viewing configuration.