Plane Tracking
Plane-tracking is very similar to point-tracking when the marker model type is set to Perspective. The viewer interface of the planar tracker shares similarities to the point tracker, except that it also add tools to edit a shape.
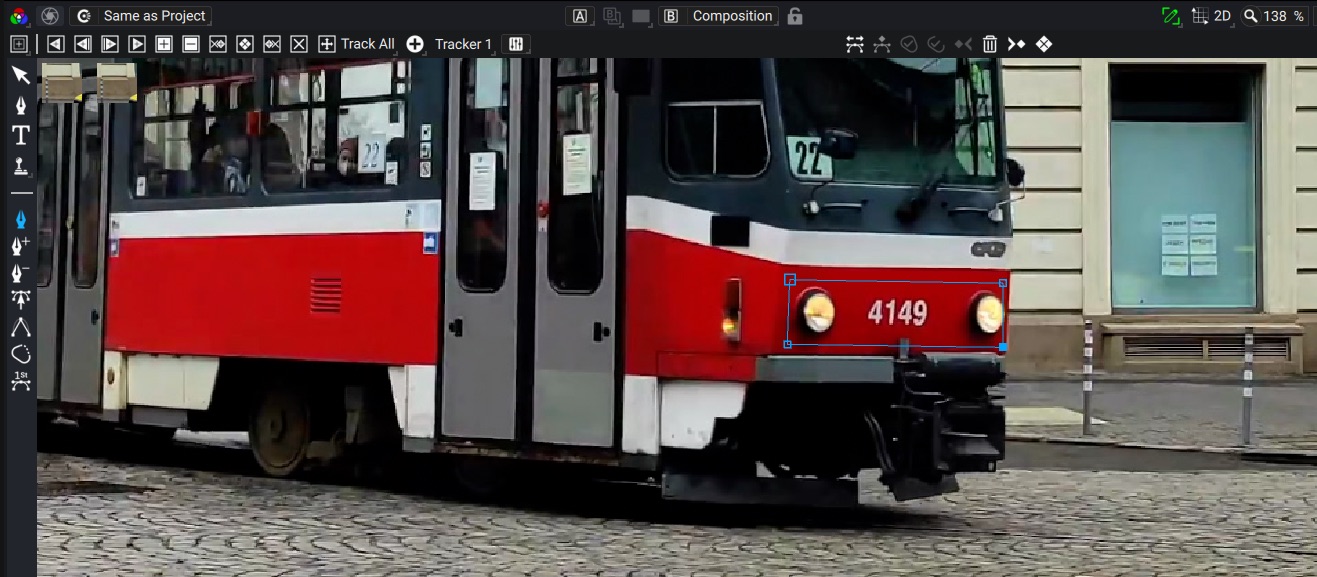
Note that the shape to track does not necessarily have to be the exact same quad as the region you want to stick an image to: The shape is merely used as a tracking marker in order to compute the model transform, much like as it if was one single point track. This works if the motion of the shape you track is the same as the plane on which you want to add the image. Tracking a smaller shape is always faster than tracking the full region. This can be useful also if the plane you want to track is not a quad and a simple marker would not be able to cover a significant portion of the desired plane.
However in some cases it may be desirable to track exactly the shape that you want, for instance, to track a matte.
The tracking process is very similar to the point tracker, so we will not go over it again. Note however that the planar tracker have the following difference:
-
Unlike point markers, for the planar-tracker, the Model Transform Type parameter is the same model as what the tracker will track.
-
There's no search offset rectangle in the viewport to control the search region, instead you have to adjust the numerical value in the tracker settings in the toolbar. The default value of 20px is likely to be too small for the planar-tracker, try to increase it if you have difficulties tracking.
-
The keyframes that you create on the shape are also the pattern reference keyframes: they are used as reference for successive tracking frames
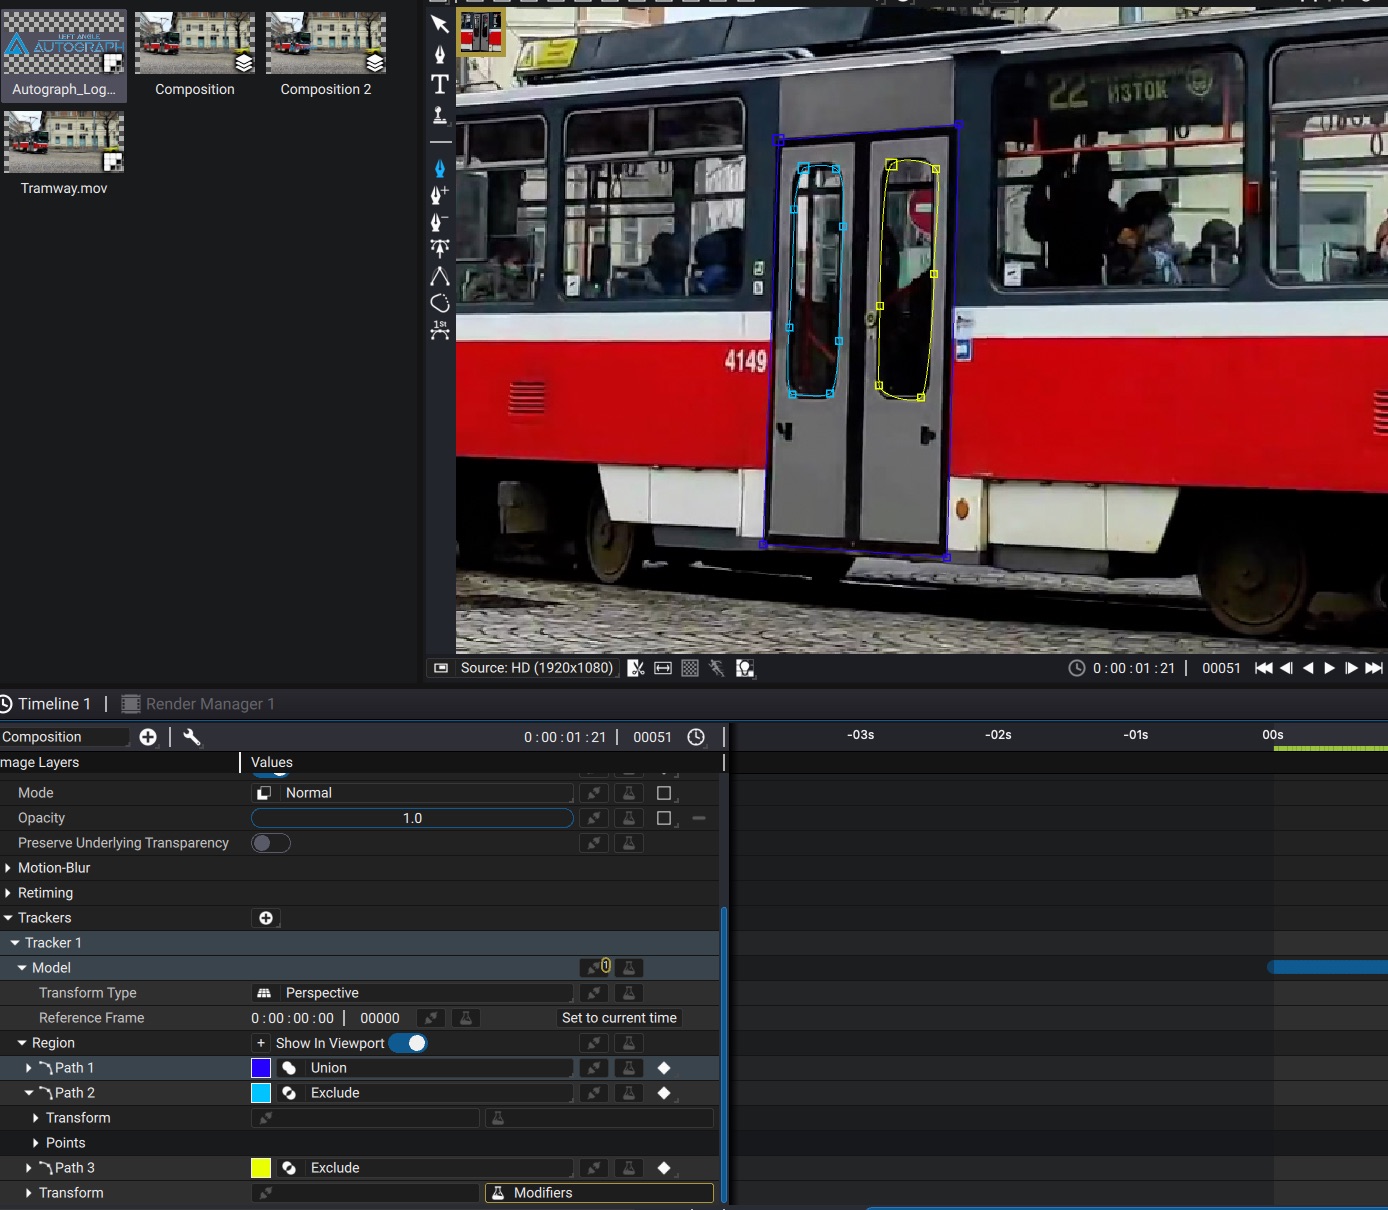
Creating a complex shape
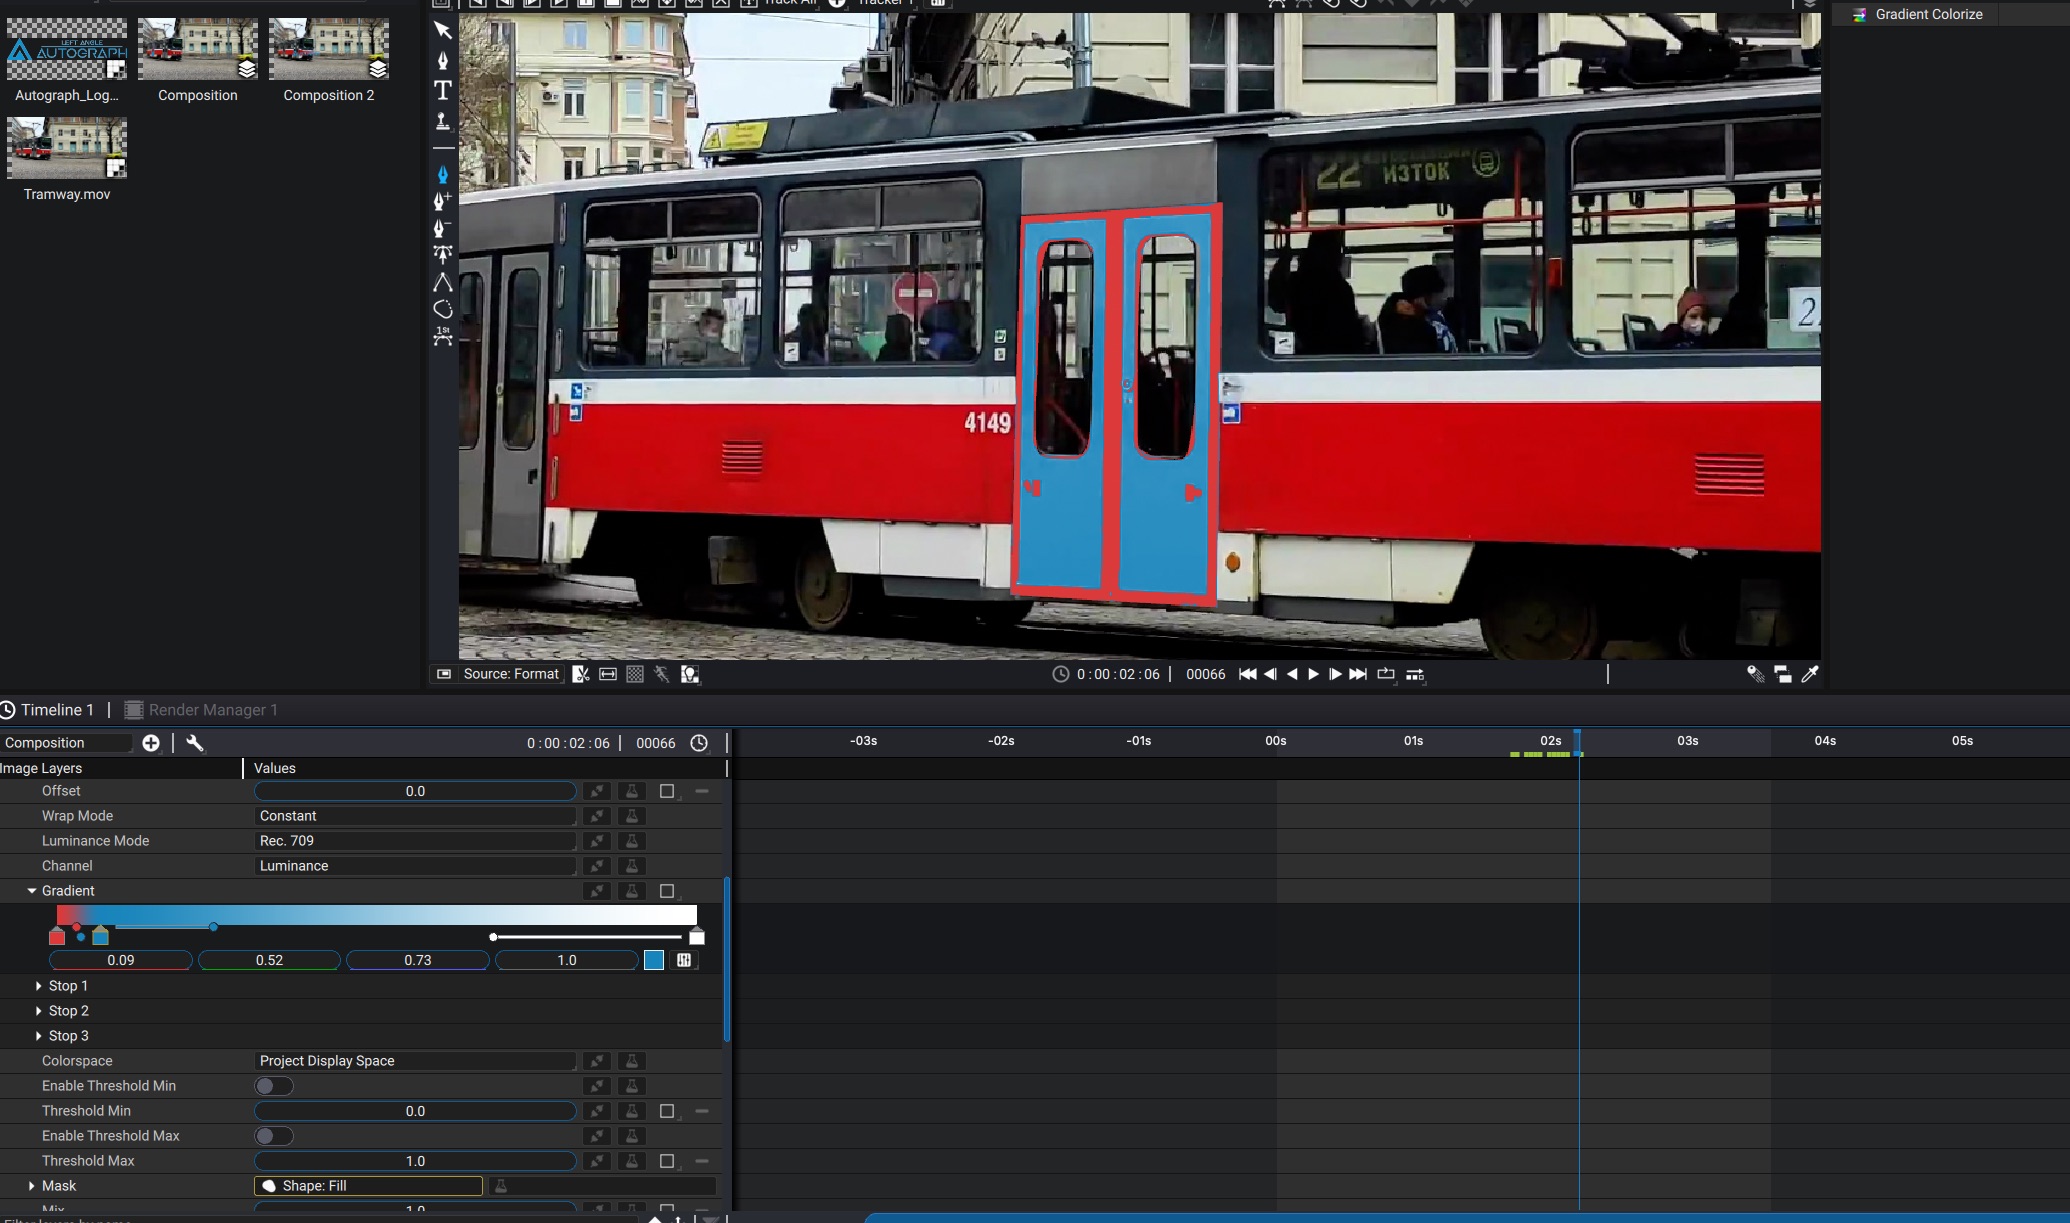
Each Planar Tracker can track 1 single plane/shape at once. However the shape can be composed of distinct paths making up the final stage. In our street-car example, we will track the side door and exclude the windowed areas from the track using the Exclude boolean operator on Path 2 and Path 3
Editing the shape
If at some point you need to adjust the shape, any modification applied to the shape will insert a new keyframe on the shape and on the pattern. Note that this will set a keyframe on all paths composing the shape.
Tracking multiple shapes
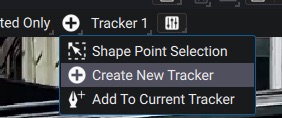
If you want to track distinct shapes, the way to go is to create 1 planar-tracker per shape. Note that the + button in the viewer toolbar allows to control whether to add a shape to an existing tracker or create a new tracker when clicking in the viewport
Once multiple trackers are created, you can track desired trackers by selecting them in the timeline if the selection mode in the viewer's top toolbar is set to to Track Selected Only.
Use the shape as a mask
To re-use the shape that was created for the planar-tracker as a mask, we will copy the Region parameter of the tracker to the desired mask.
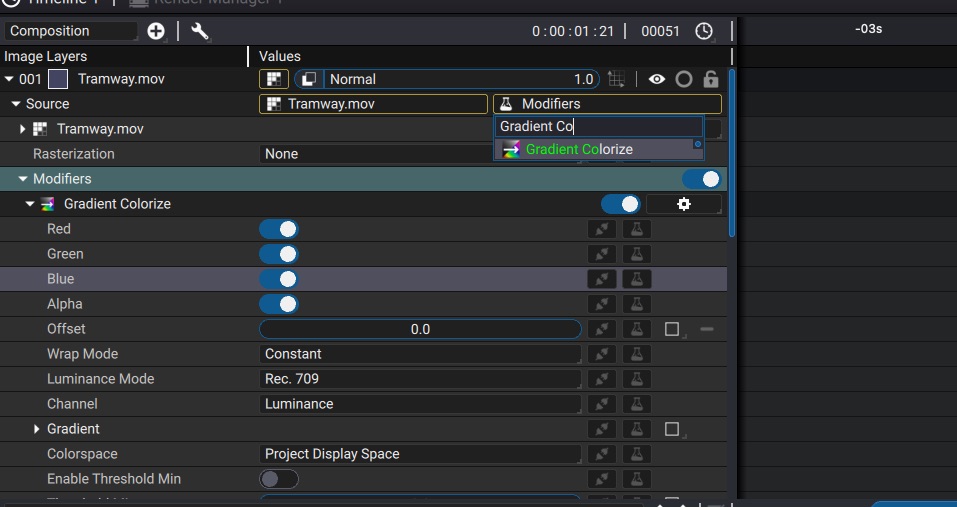
In our case, we will create a Gradient Colorize modifier on the source of the footage, to recolorize the door of the street-car in a cartoon style.
On the Mask parameter of the Gradient Colorize we will now add a Shape:Fill modifier

We now link the Region parameter of the tracker using the Copy Link action in the source menu of the Param
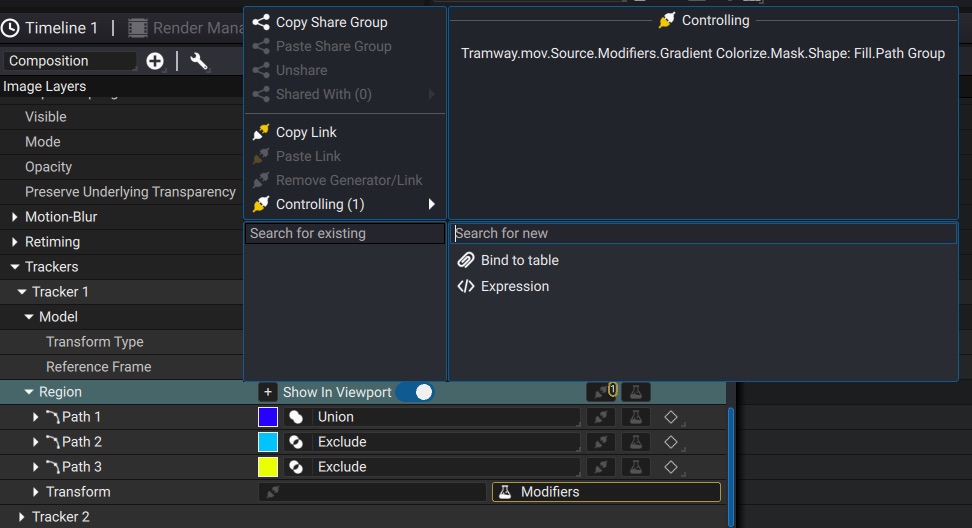
We now Paste link the Region to the Path Group parameter of the Shape:Fill we created as a mask

That's it, the mask is now in sync with the tracked shape. Any change to the tracker will also change the mask.
It is also possible to copy/paste the region with Ctrl+C and Ctrl+V but be careful when doing so: The current time of the timeline when pasting will be the time at which the first keyframe of the pasted shape will be. Thus make sure to conserve the same animation, make sure to paste with the timeline located at the time of the first keyframe of the shape. When copy/pasting, it is also necessary to setup the Follow-Shape Track modifier on the Transform of the pasted shape, in a similar way as we covered in the apply track section.