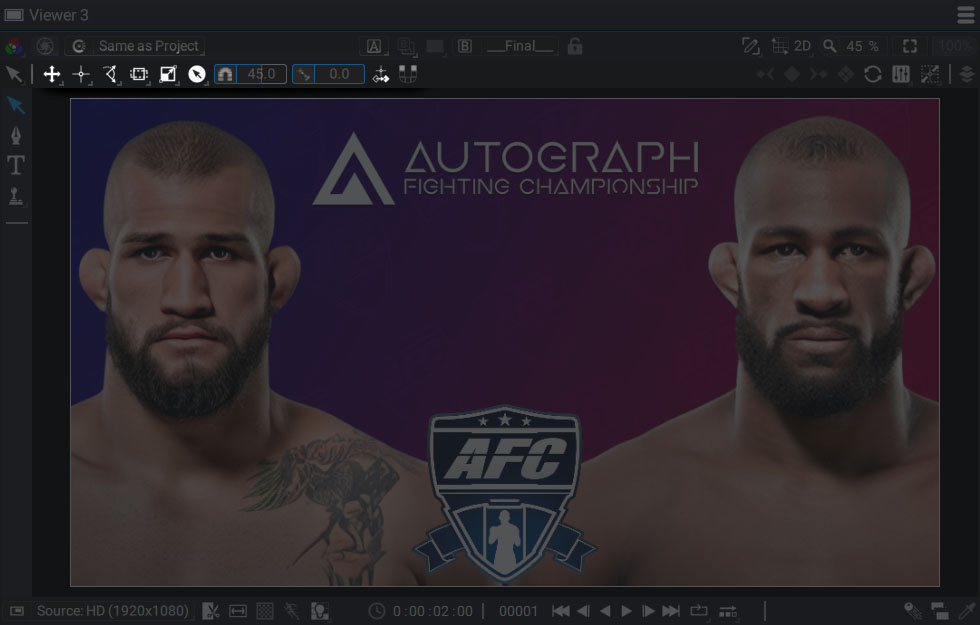
Moving layers in the viewer
Once one or more layers are selected, placing the mouse over the viewer brings up a transformation widget
By default, this one displays:
- A blue frame to resize the layer
- Controllers to change the position and size of the layer
By pressing the Alt/Option key, these controllers are replaced by others to modify the rotation and skew. Pressing this key also changes the position icon by a rotation icon, at the top left of the viewer. If you click it, you can change one controler by another and invert the behavior if the key is not pressed.
Moving options

At the top of the viewer, there are options related to the layers movements.
From left to right:
- Local/Global mode: defines if the moving arrows of the widget should be rotated and skewed.
- Individual origins/ Median anchor point: when a rotation is performed, it is defined around the respective anchor points of each layer or according to a median point.
- Uniform Scaling ON/OFF: keep or not the original aspect ratio of the layer when scaling.
- Center Scaling ON/OFF: defines if the scaling should be done through the center of the layer or not.
- Snapping angle: click on the button to activate snapping and define the steps in degrees during a rotation.
- Tool Spacing: allows to increase the distance between the tools constituting the widget.
- Selection mode: Alpha channel or Bounding boxes
- Ripple mode: allows to move an anchor point while keyframes have been added to the position. These will then all be recomputed.
- Pixel snapping: when moving a layer in the viewer, the position values will be rounded