Linking scenes in scenes
Linking Scenes in Scenes
Linking Scenes in Scenes was introduced here.
This is the primary method to combine multiple small Scenes into one that will be rendered. You can link the same Scene multiple times.
However, it's more powerful than just including other scenes in your main stage. Using the non-destructive workflow from USD, it is possible to override any object in the main stage without changing the values of the object in the linked Scene.
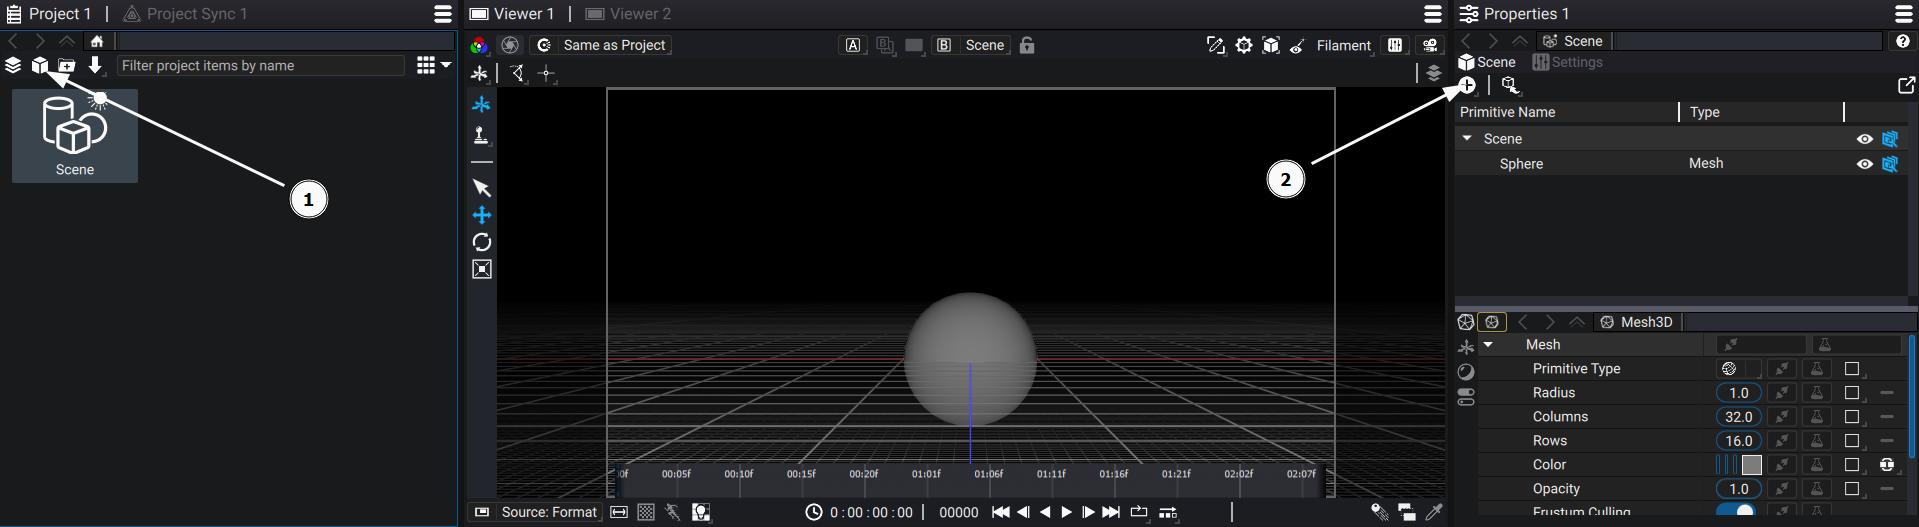
For example, let's create a Scene and create a sphere in it:
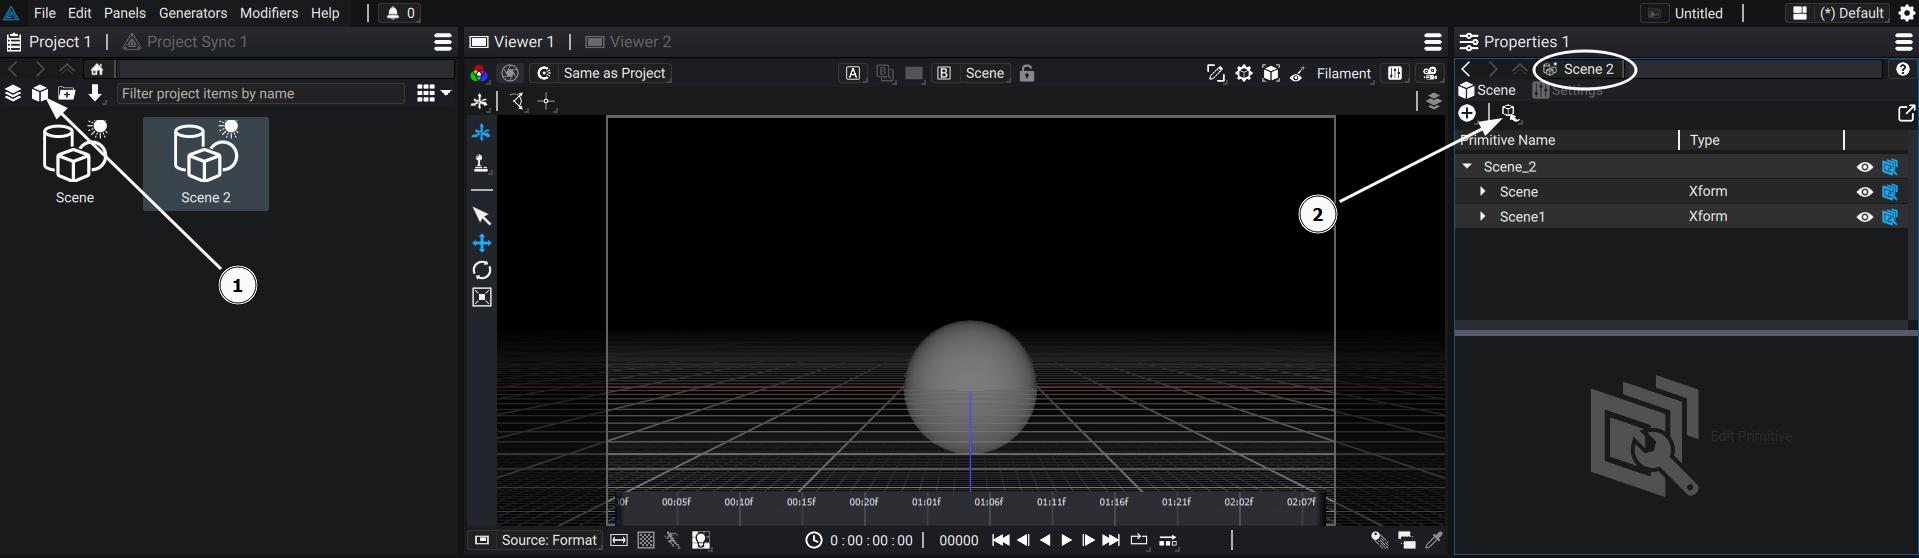
Let's create another Scene, and link/reference the first Scene twice:
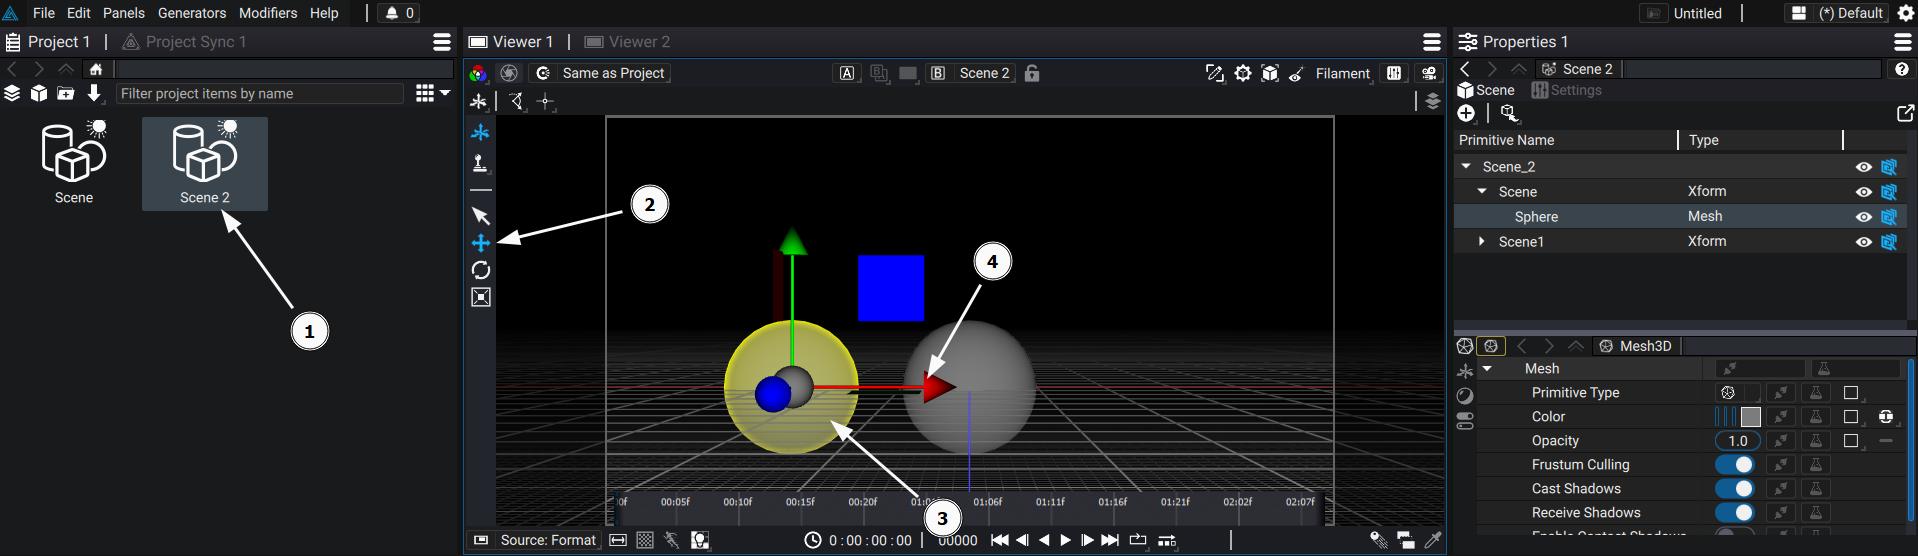
Now:
- Double click on Scene 2 in the Project Panel to see it in the Viewport
- Select the Translate option from the Transform 3D Tool
- Select one of the spheres
- Move the sphere slightly to the left using the red arrow of the Gizmo
Now we'll change the color of the sphere we moved:
- Select the sphere if it's not already selected
- Select the Mesh Properties if not already selected
- Go to the Color Parameter
- Change the color of the sphere
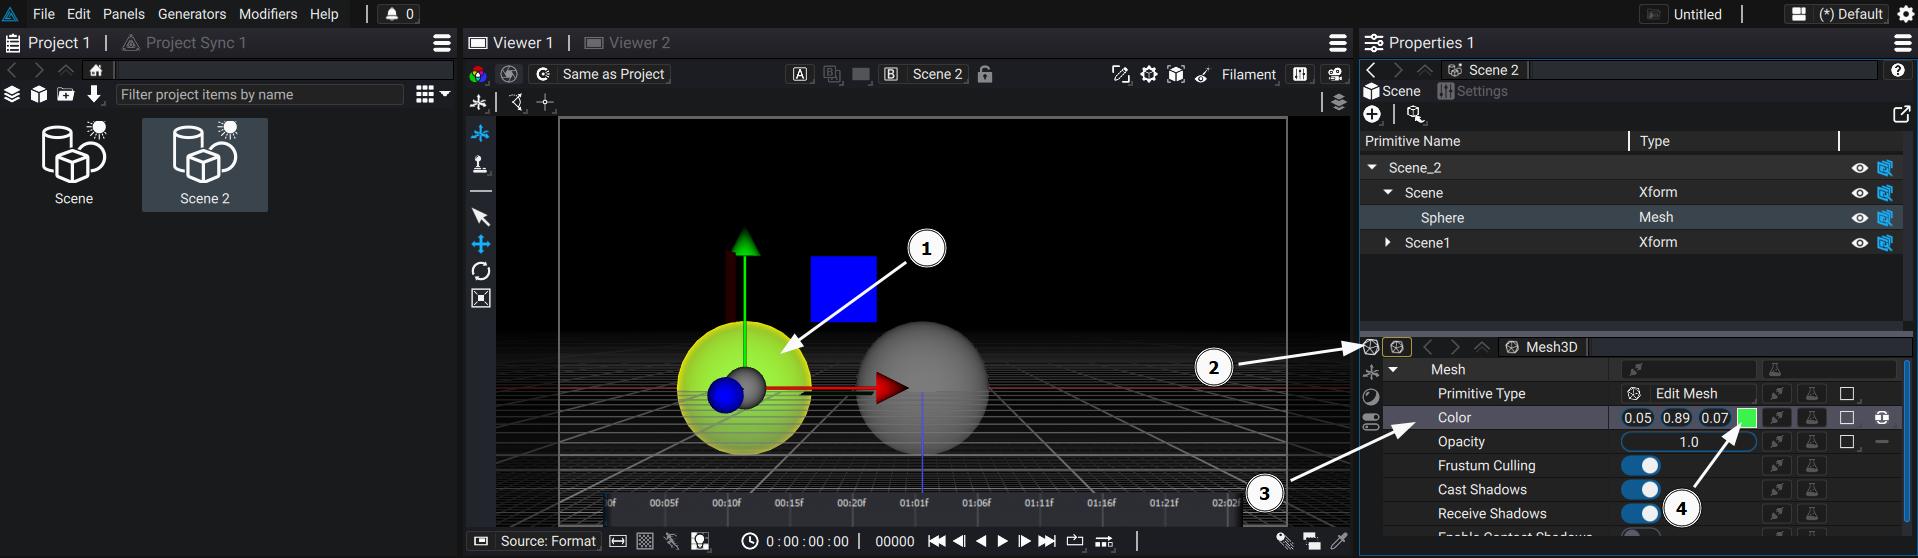
We have overridden both the Transform and the Color of one of the spheres, without touching the original Scene, and even without losing the link to the original Scene. For example, we can go back to the original Scene and change the radius of the sphere:
- Click once on the Scene in the Project Panel to access the Scene properties without changing the Scene rendered in the Viewport
- Check that Scene 2 is still rendered
- Select the Sphere in the Scene Properties Panel
- Select the Mesh Properties
- Change the radius to 1.5
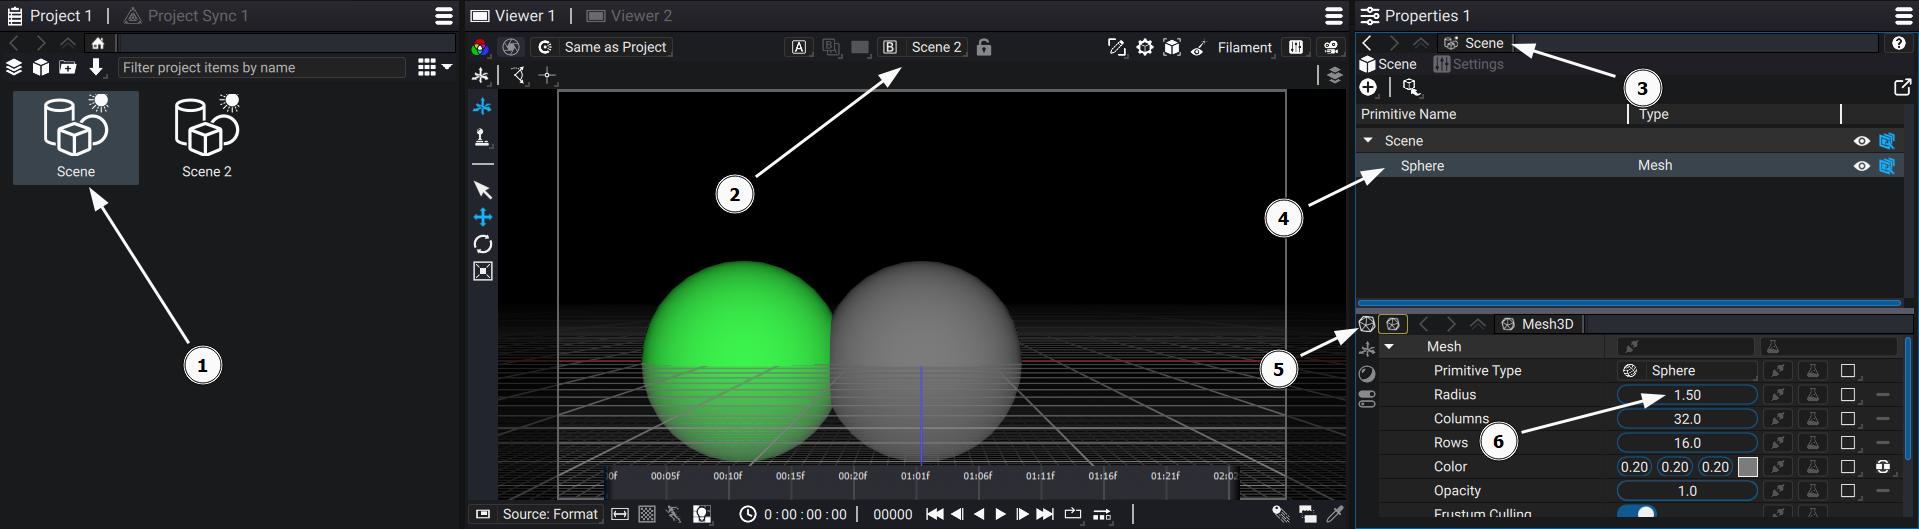
The change is directly updated to Scene 2.
This non-destructive workflow is very powerful for rapidly seting up complex scenes without ever losing data.