Using the Shape Tool
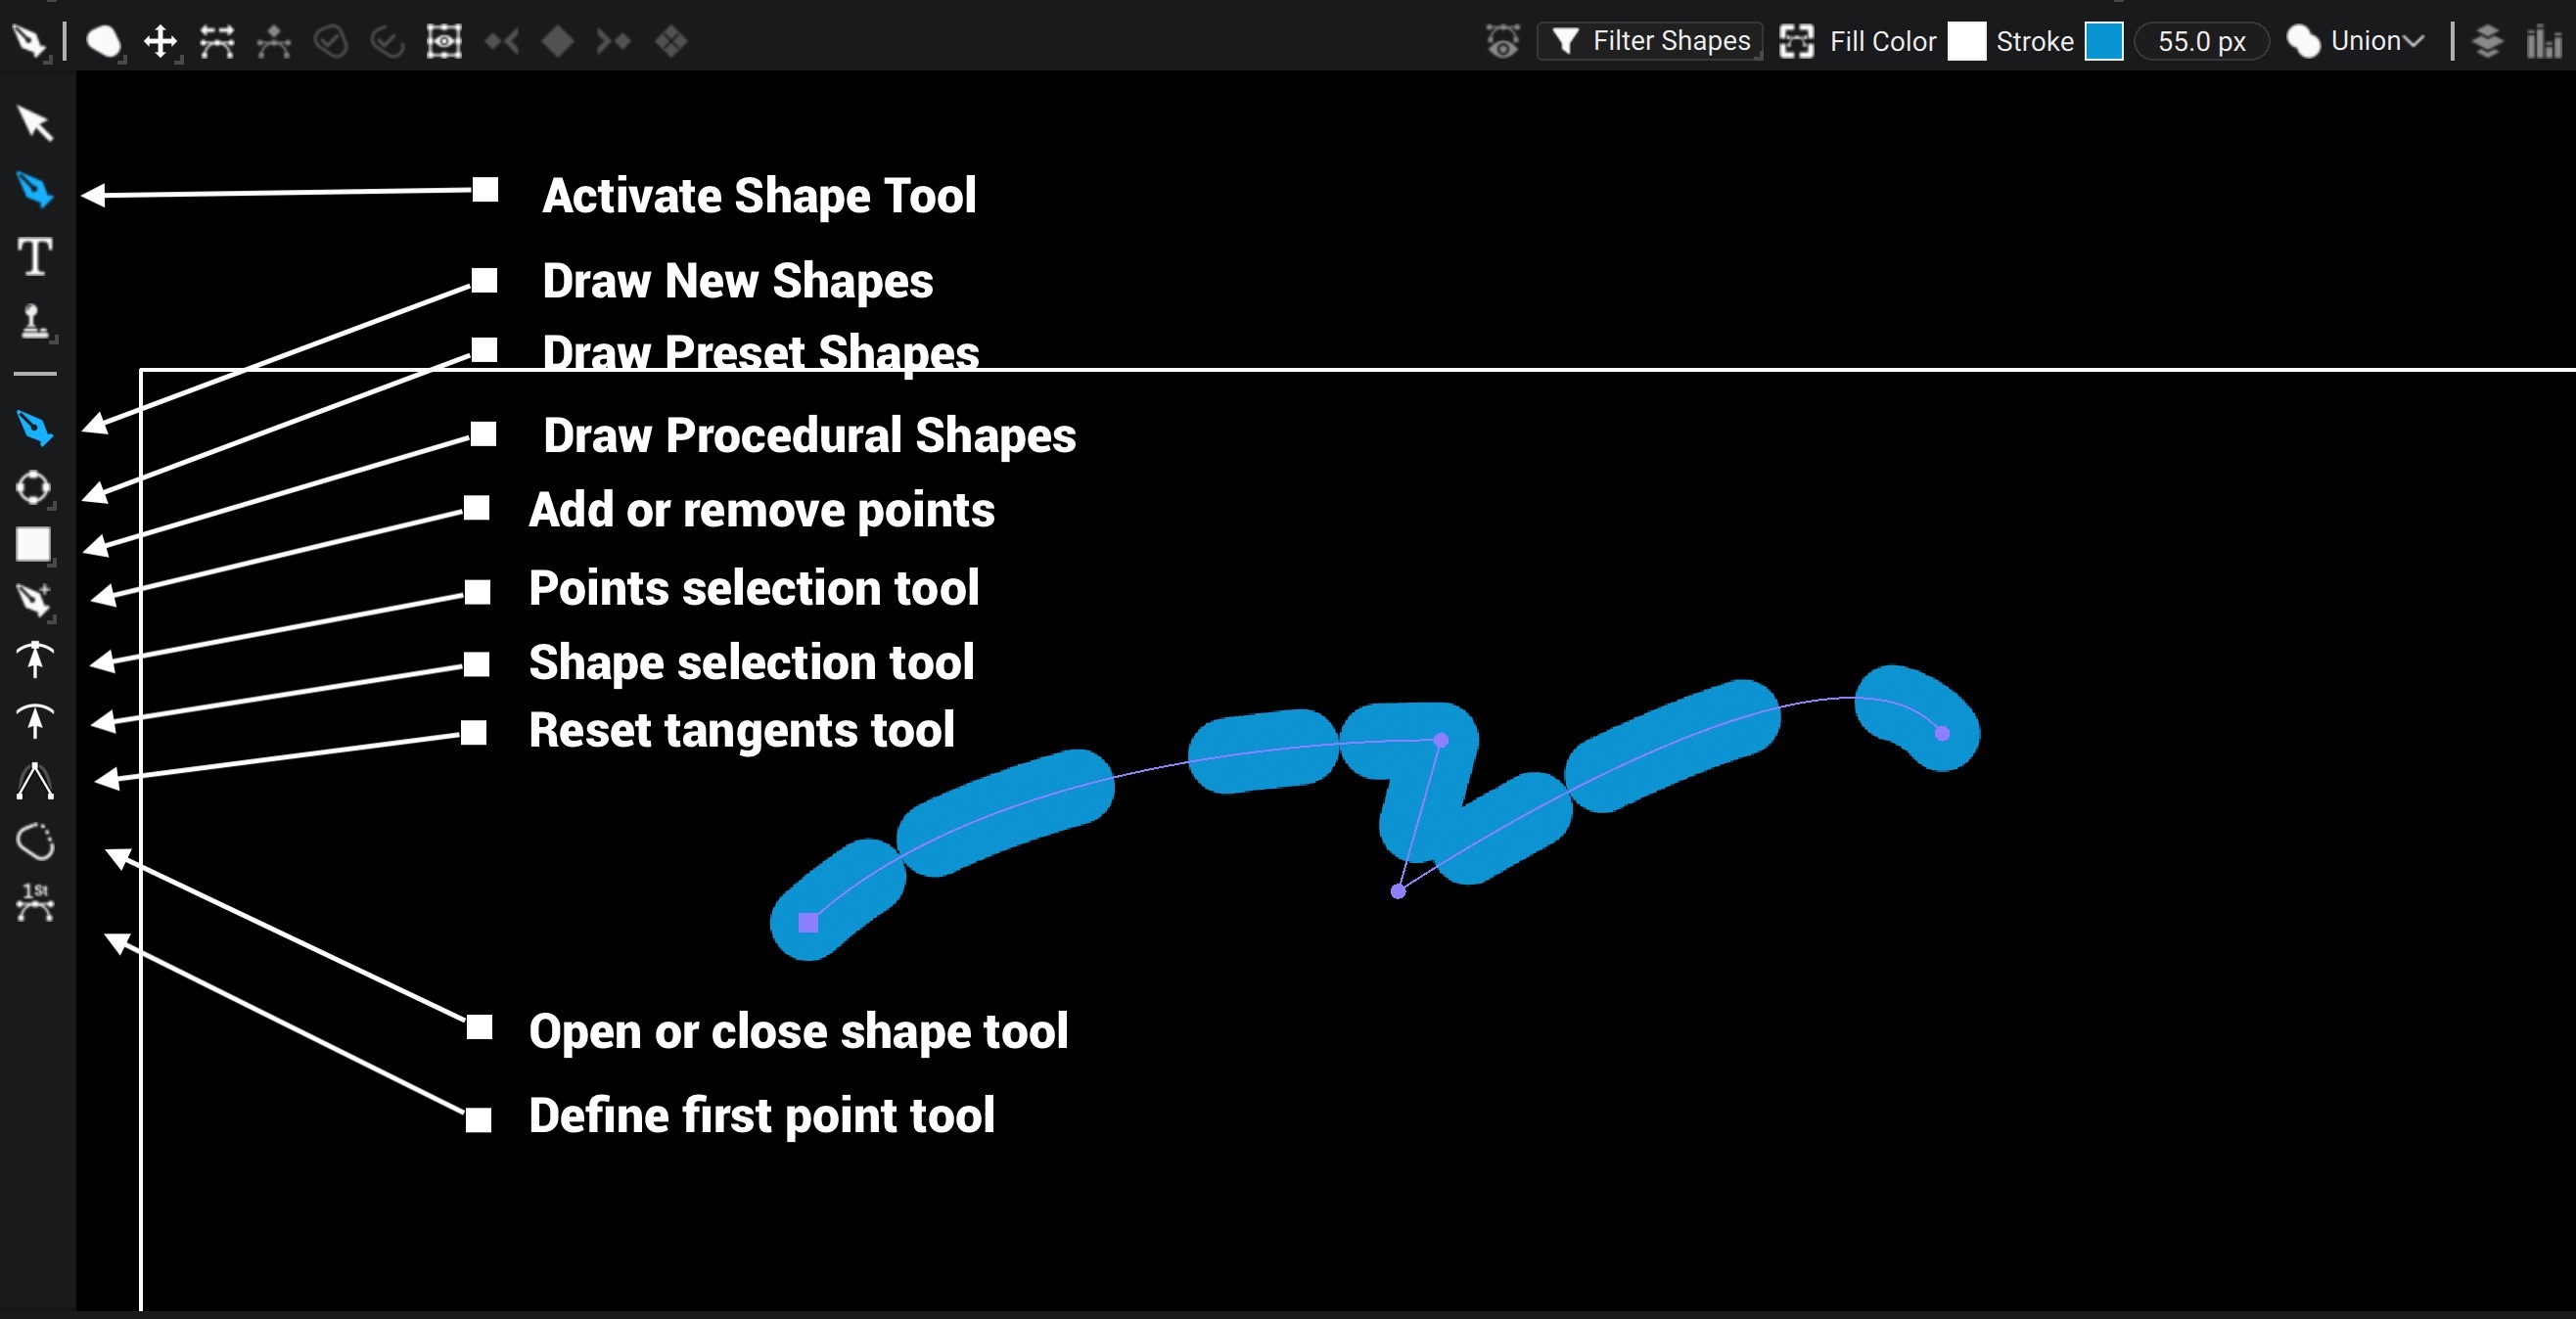
The Shape Tool is used to draw and edit shapes in the viewport. To activate the Shape Tool in the viewport, click on the pencil icon in the left toolbar of the viewport, as indicated in the image below
Draw Tool

This mode let's you draw new shapes or extend existing shapes. When clicking in the viewer, if the cursor is not on an existing point, Autograph will create a new Path, based on the toolbar options and the selection.
It is important to remember that the selection that Autograph uses to determine where to create your path is either the Properties Panel selection or the Timeline selection, depending on the last panel you clicked on
-
If nothing is selected, Autograph will create a new Layer, with a Shape Generator as its source with a Path Group and a Style.
-
If a Layer is selected: Depending on the Masking option (as seen in the picture below), Autograph will either create a Mask on the selected layer or if the selected layer is a Shape Layer, add a new Path Group to the Shapes Generator, or otherwise create a new Layer.

-
If a Shape Generator is selected: Autograph will add a new Path Group and a new Style
-
If a Path Group is selected: Autograph will add a new Path in the Path Group
-
If a Path is selected: Autograph will add a new Path after the selected Path in the Path Group
Another important option in the toolbar affects what Autograph does when creating a new shape:
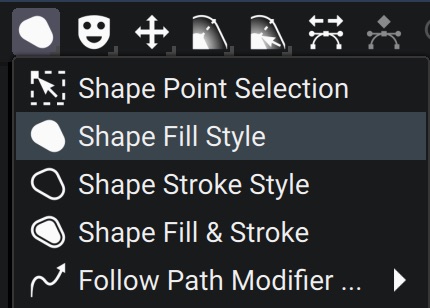
- Shape Point Selection: Autograph will not create a shape and instead switch to the selection tool. This is useful to avoid creating new shapes
- Shape Fill Style: When creating a new Shape, a Fill Style will be created
- Shape Stroke Style: When creating a new Shape, a Stroke Style will be created
- Shape Fill & Stroke: When creating a new Shape, a Fill Style and a Stroke Style will be created
- Follow Path Modifier: Only works when selecting a Layer: When creating a new Shape, Autograph will add a Follow Path so that the layer will follow the path that you are about to draw
As soon as a path is created, the shape validation buttons will turn on

Validating the shape means that when creating a new point, Autograph will no longer continue the path. This is useful to create opened-path. The Right button allows to validate the shape, without closing it. This can also be done with the Escape key. The Left button allows to validate the shape, while closing it. This can also be done with the Return key or by clicking on the first point of the shape.
Extending an opened path
When clicking on either of the end points of an opened-path, this will re-activate the path so that you can continue drawing on it, until you re-validate it again.
Editing control points
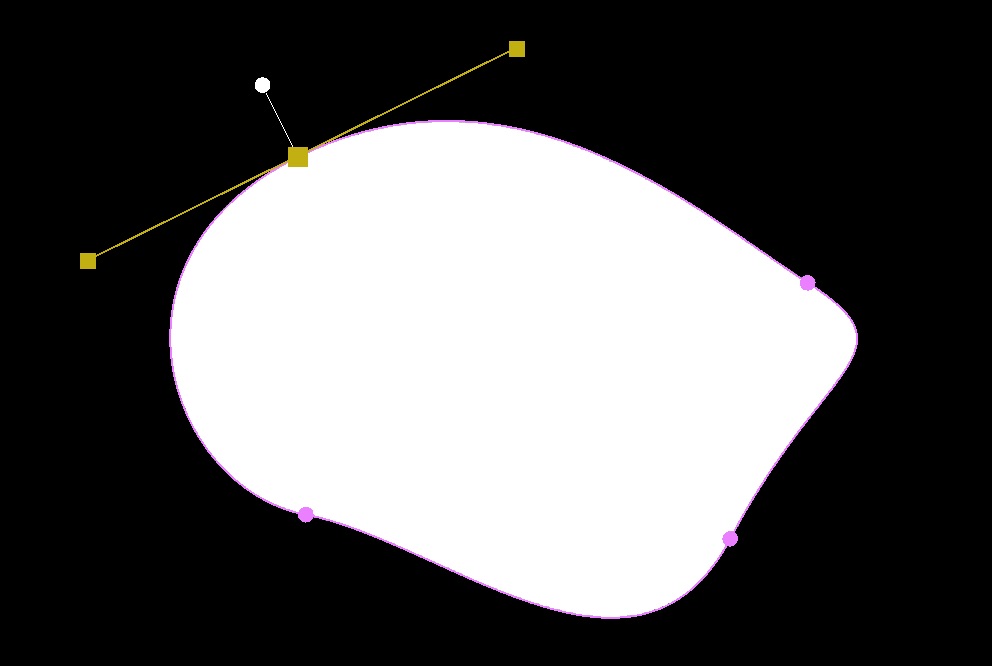
When selecting a control point, its tangents appear which lets you manipulate them. Hold Shift to snap the tangents to a 45° angle Hold Control (or Command on macOS) to break the tangent
Editing Feather points
The feather refers to the ramp on the outer edge of a shape. This is useful when masking moving elements.
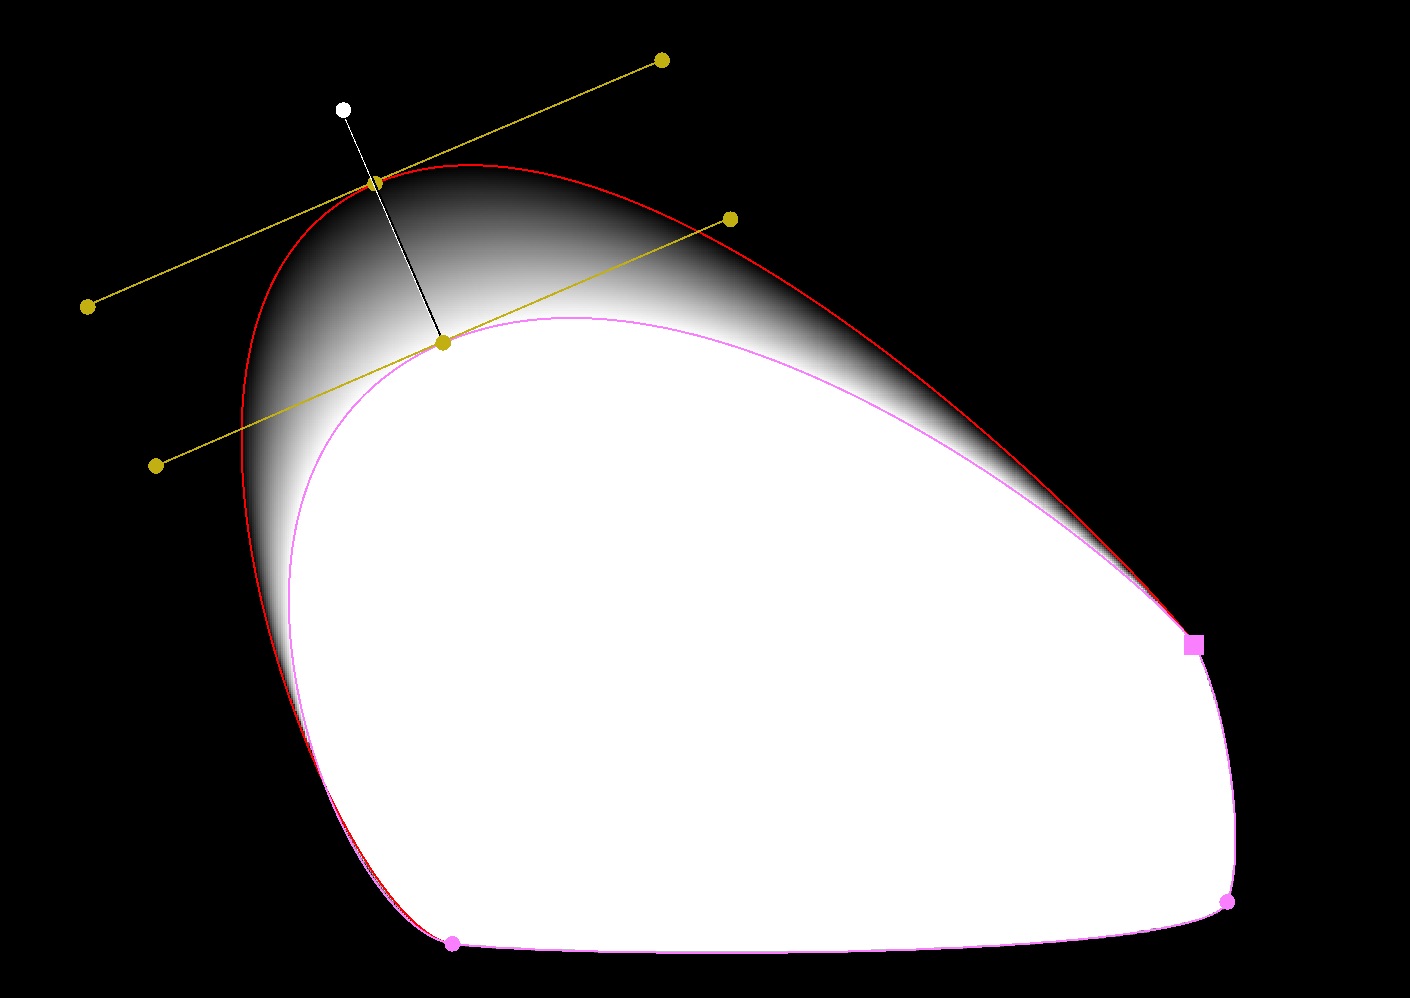
The white handle lets you extend the feather along the normal of the path at that point. Once created, the feather point is visible and can be manipulated freely. By default, when moving the internal shape point, the associated point is dragged along. This link can be disabled with the following option in the toolbar:
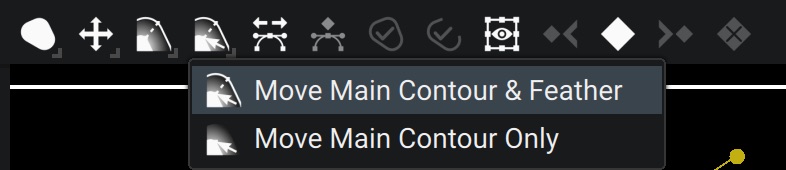
Editing feather points is only useful when a Fill Style is applied on the shape, other styles do not support it.
Preset Tool
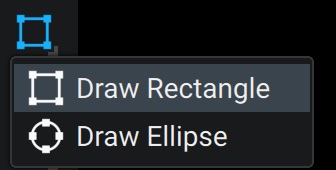
This tool is useful to draw preset shapes, such as Ellipses and Rectangles. Unlike the procedural shapes generator, these presets still have control points that you can edit manually
Procedural Shape Tool
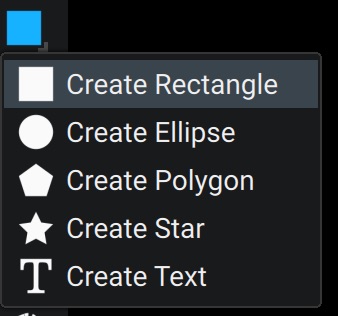
This tool lets you draw procedural generators. These generators generate paths out of mathematical formulas and cannot have their points edited directly. Instead they offer parameters that can be edited and animated as any other parameters.
The most useful one is the Text generator which lets you draw a text path. The main difference with the Text generator is that you can use modifiers on the Path and use any style to render the text. See this example that makes use of this generator.
Add Remove Point Tool
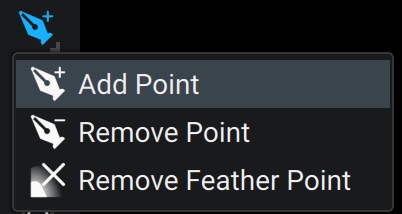
These modes allows you to add or remove points (or feather points) without risking of moving anything else.
Holding Control (or Command on macOS) when clicking on a point when in draw mode allows you to do the same as the Remove point tool
Selection Tool

This mode allows you to select one or multiple points. Multiple points can be selected while holding Shift or by drawing a selection rectangle. When multiple points are selected, the Transform widget appears which lets you move, scale and rotate the points exactly like the layer selection tool.
Shape Selection Tool

This tool let's you select entire shapes at once, which is useful to move them around quickly without having to manually select all points in the shape.
Reset Tangent Tool

When in this mode, clicking on a point will reset its tangents. Clicking once without releasing will create a cusp, while holding down the button and dragging will draw the tangent anew. This can also be done by holding the Alt keyboard button while in Draw tool.
Open Close Tool

When in this mode, clicking on a point will open, or close the shape at the clicked point
Set First Point Tool

When in this mode, clicking on a point will set its first point. This is useful when using for instance a Trim Path modifier.
Options in the horizontal toolbar

Select the default mode of the transform widget when multiple points are selected. Holding down Shift selects the other mode.

Reverse the points of the path. This is useful for example when using a Trim Path modifier.

When a path has multiple keyframes, this option, when checked, lets you offset the shape at all keyframes when moving the shape at a single keyframe.

Enable and set the snapping angle when using the transform tool to rotate multiple points

Show or hide the transform tool when multiple points are selected

The keyframe toolbar allows you to set, remove, clear keyframes and navigate between them on the selected paths.

When checked, only the Paths selected in the last active panel (Properties panel or Timeline) are made visible. This is useful when your Composition has many shapes at the current frame but you want to focus on a particular shape.

This menu lets you filter shapes by kind: Shape from Shape Layers, masks or other paths (such as Follow Path, etc....)

These options control the styling of the selected shapes. This also defines the styling of newly created shape
Note that for example if the shape doesn't have a Stroke style, the Stroke options will not change anything.

Defines the boolean operation of the newly created shapes