Styles
A style such as a Fill or a Stroke defines how the shape is rendered. By default a Style affects only the first Path Group that it finds above itself in the list:
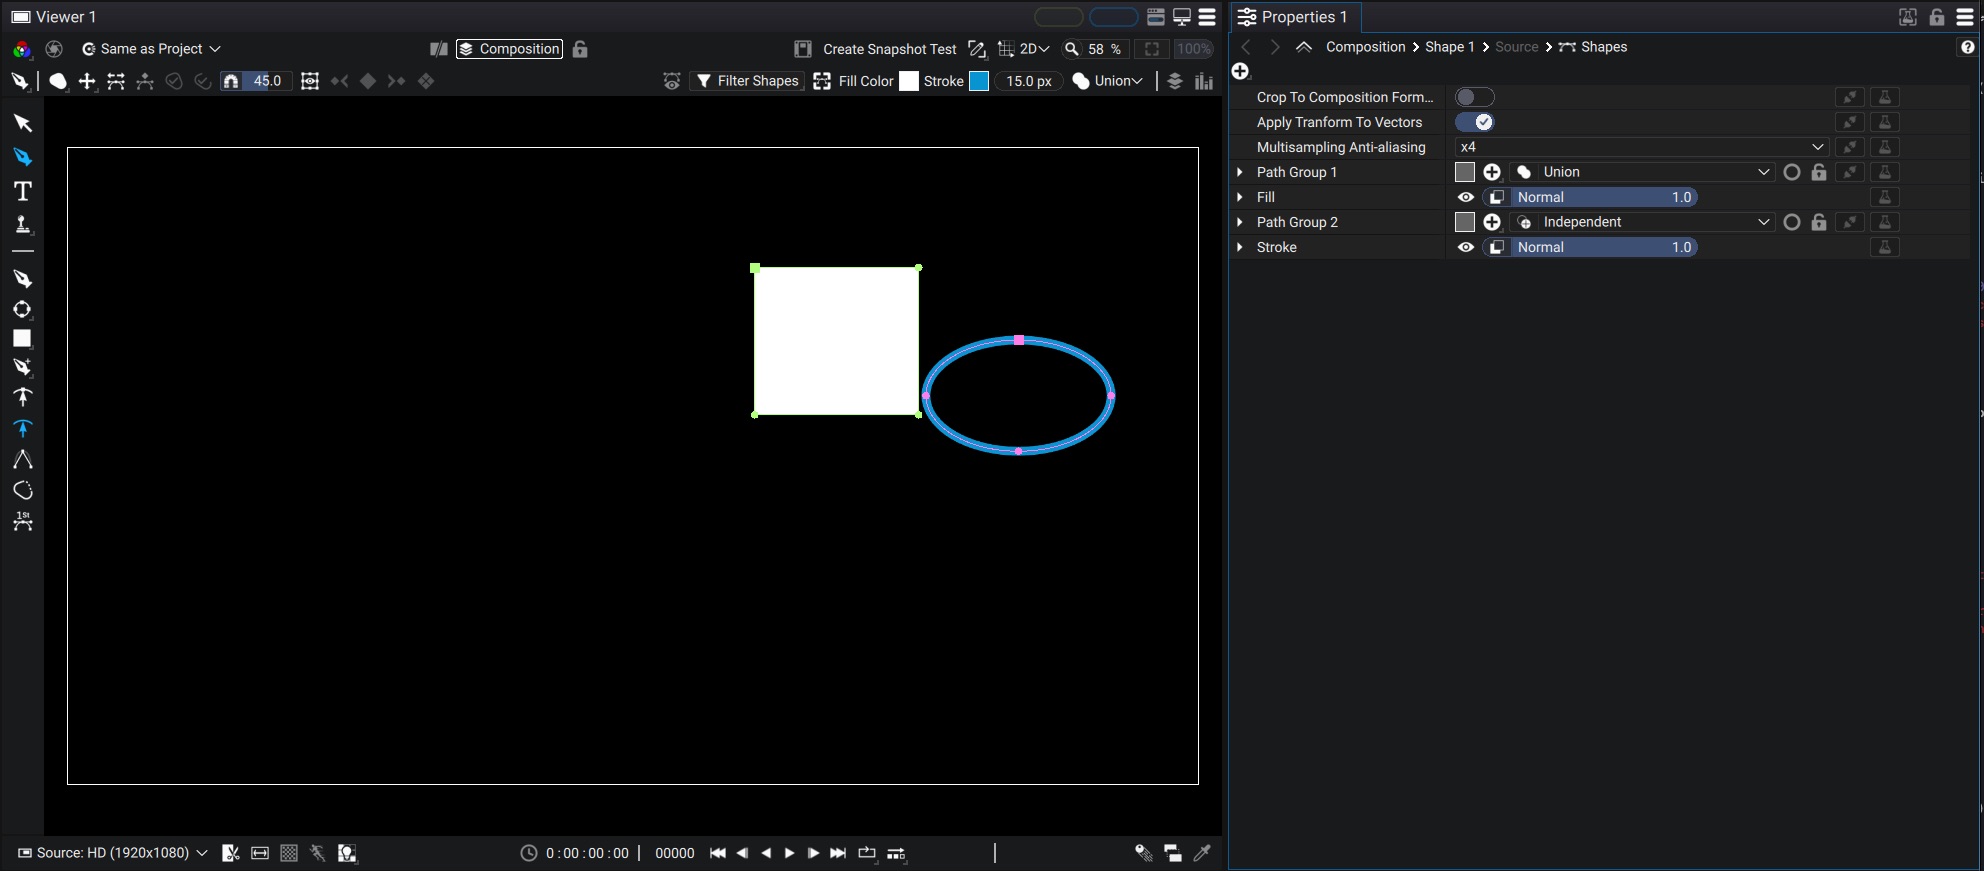
In the above example, the Fill affects Path Group 1 and the Stroke affects Path Group2
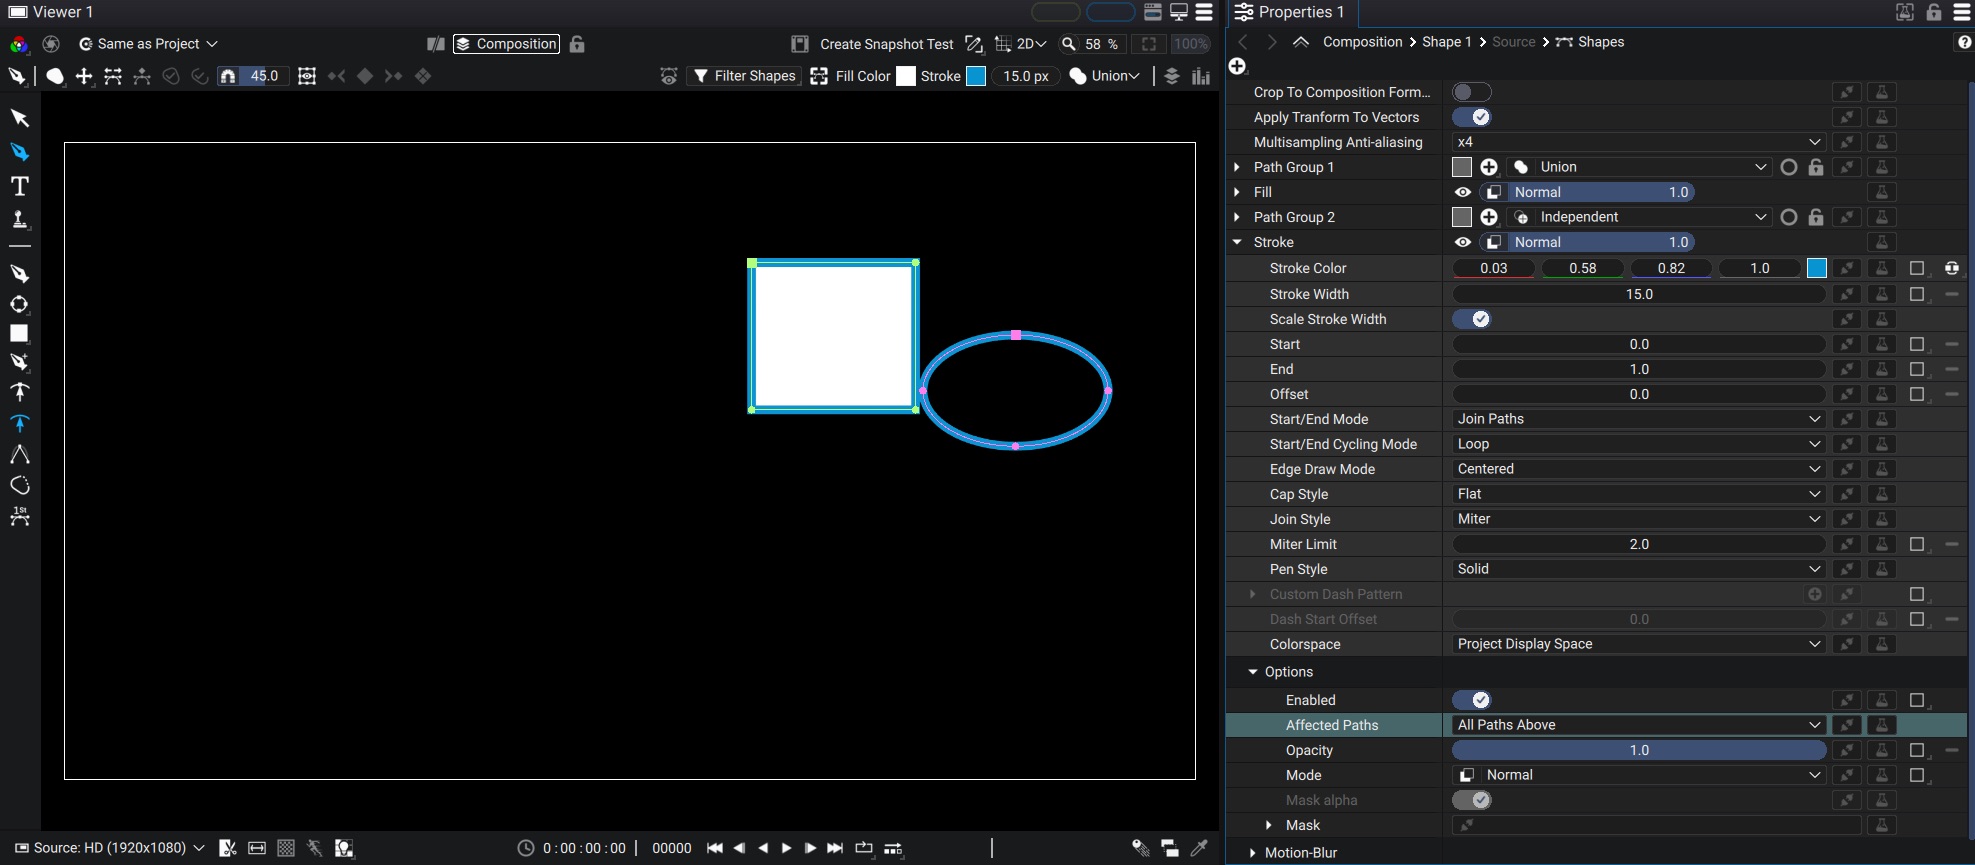
Now if we change the Affected Paths options of the Stroke to All Paths Above, both Path Group 1 and Path Group 2 have a Stroke style:
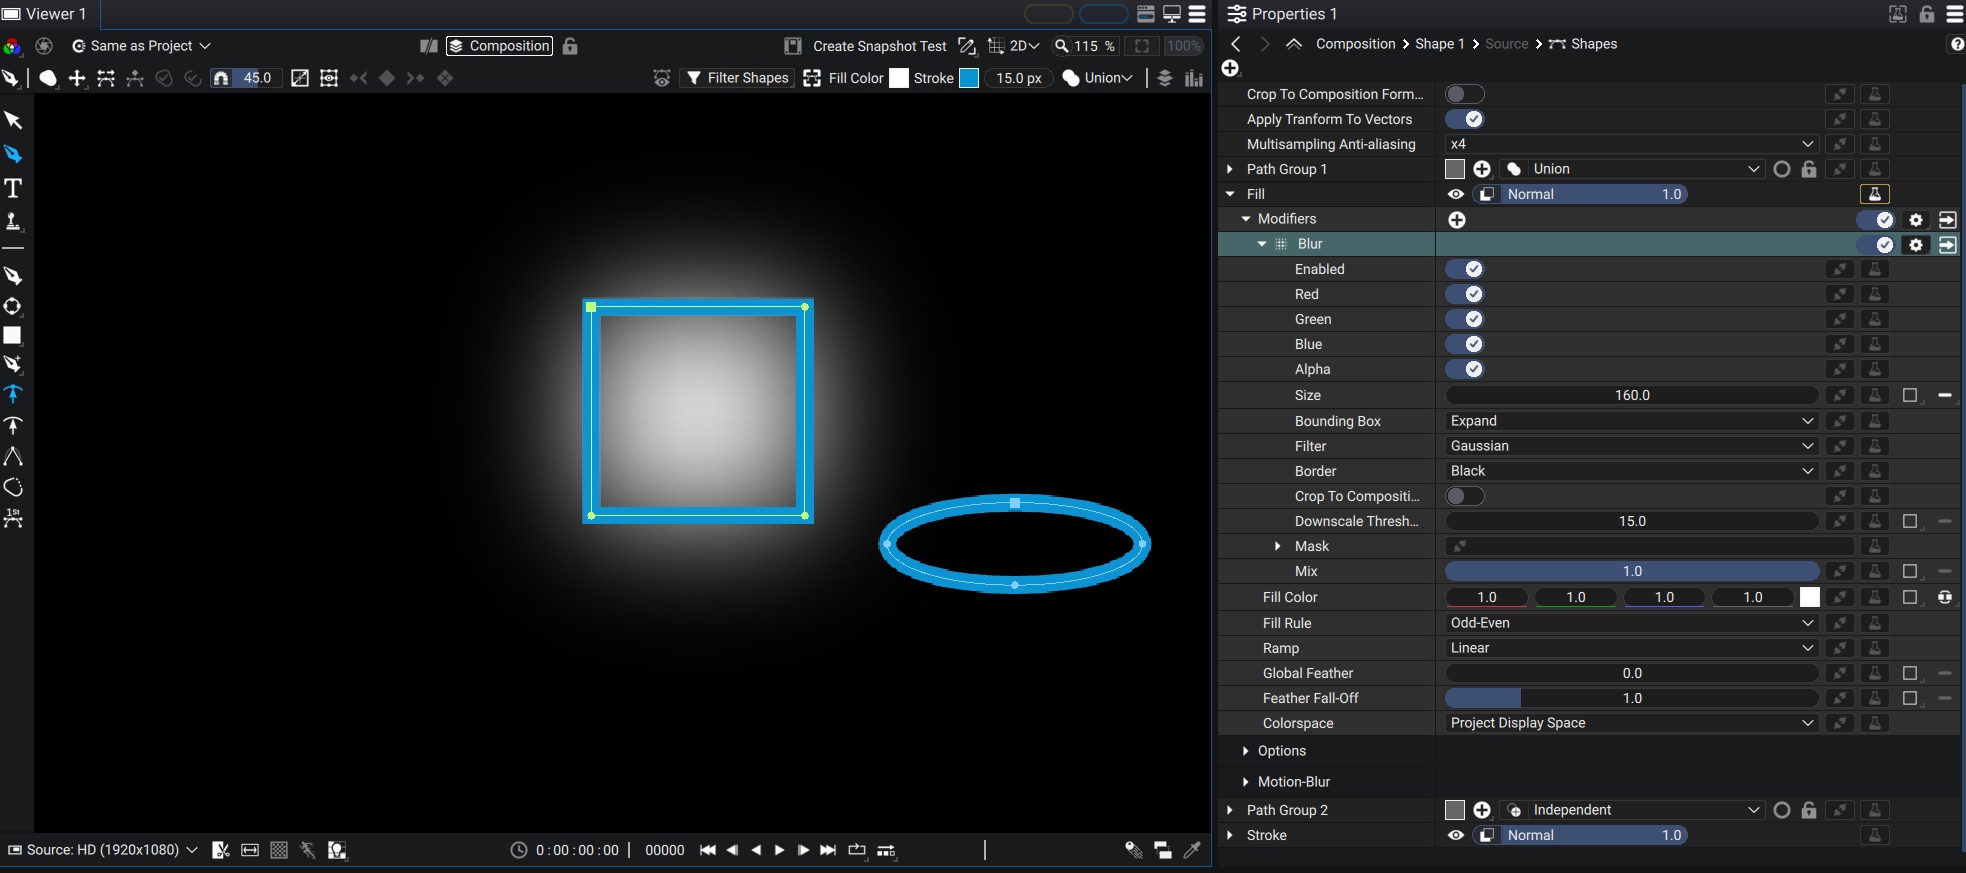
Each style can have modifiers that affect the render of the style:
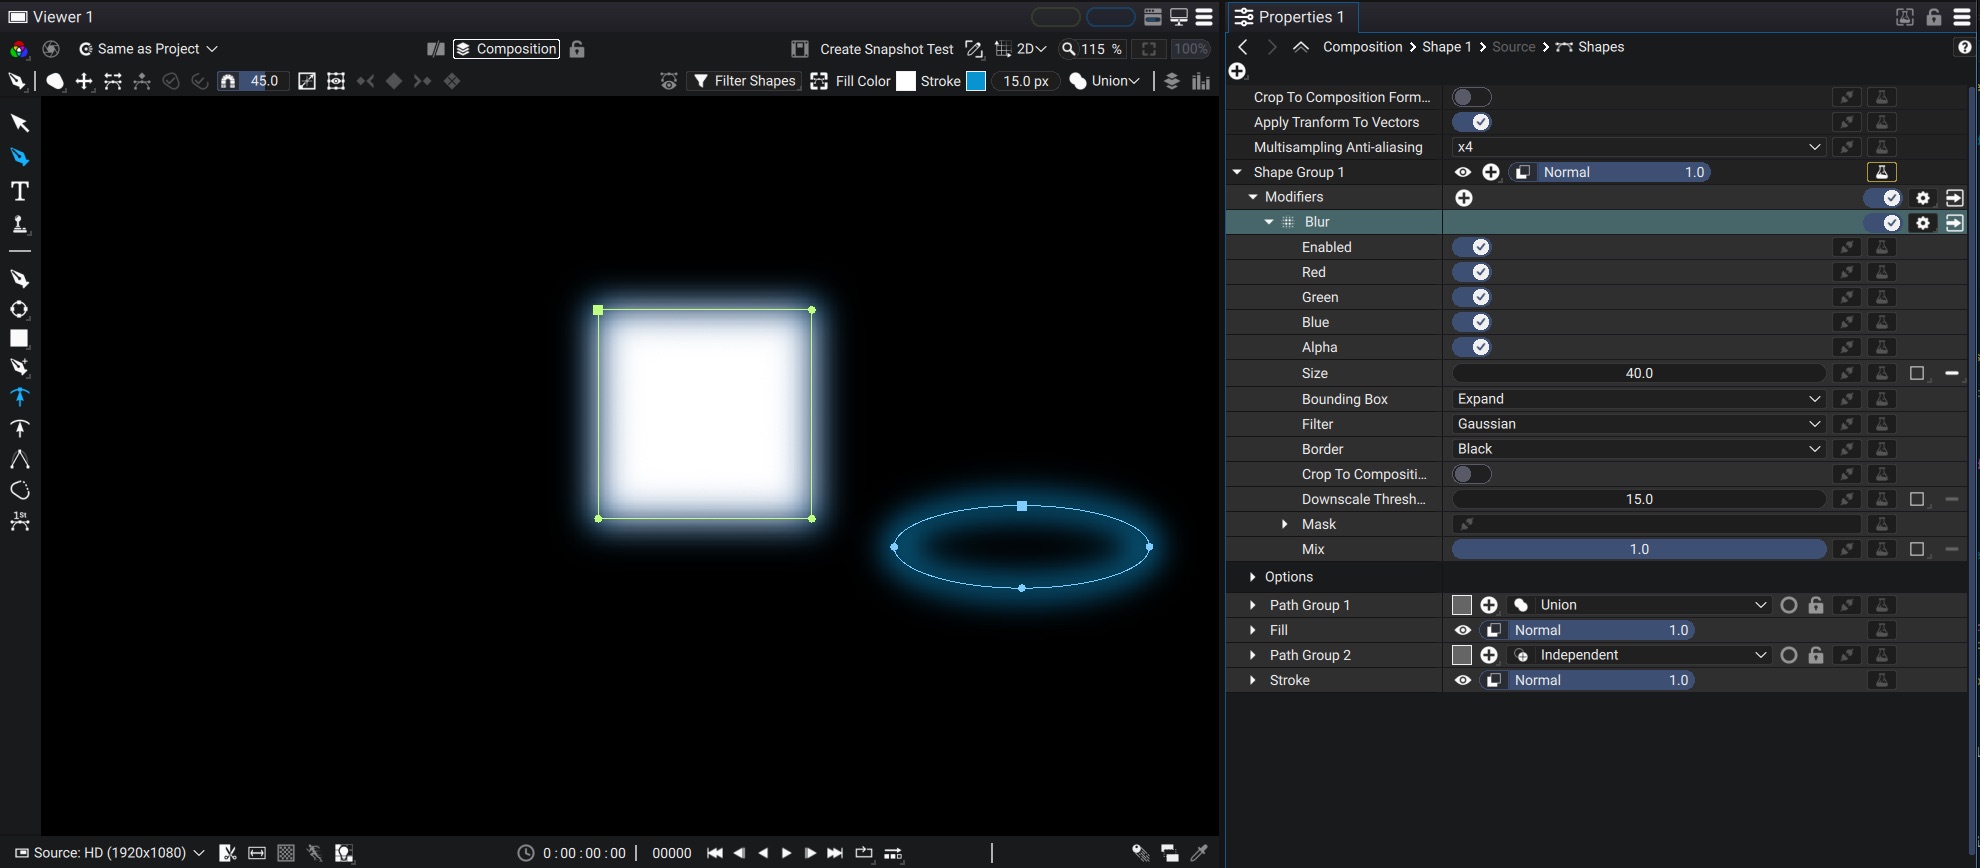
If we move all our shapes into a Shape Group, we can apply a modifier which affects all the content in the Shape Group:
Common Style Options
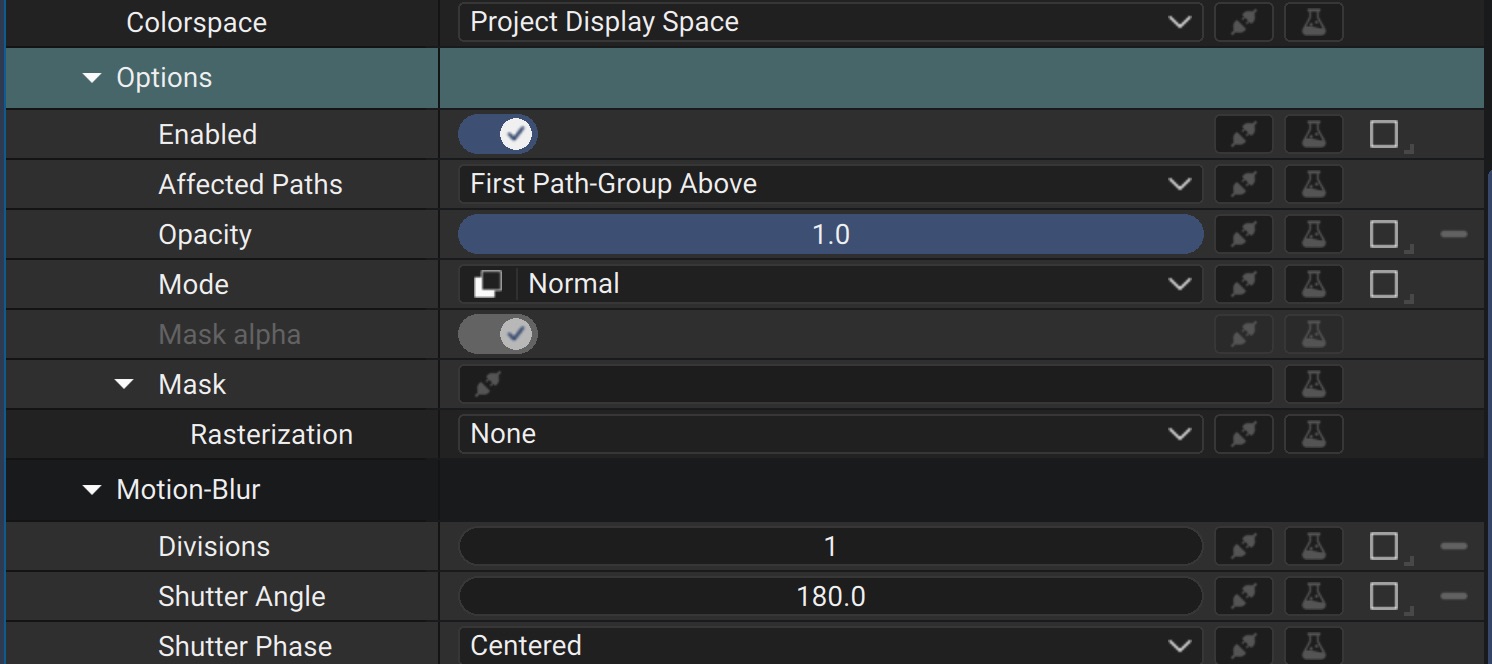
For all Styles, some common options can be found:
-
Enabled: allows to enable or disable the Style. It is the same as clicking the eye icon on the style
-
Affected Paths: lets you choose whether the Style is applied to the first Path Group above or all Path Groups above
-
Opacity: Fade the style with the background
-
Mode: How to blend the style with the background
-
Mask Alpha: Depending on the Mode, this can be used to control how alpha is blended
-
Mask: Apply a mask on the style
The Motion-Blur sub-menu let's you control how motion-blur is applied to this style. Motion-blur for styles works by repeating Divisions times the render of the shape across a time-window defined by Shutter Angle and Shutter Phase. The more Divisions, the more accurate the motion-blur, but the longer it takes to render.
The Colorspace option is used to indicate in which colorspace the color that you set in the controls of the style are defined. If set to Project Display Space, it assumes that the values of the color correspond to colors that you picked from the UI or from a color-palette. If set to Project Working Space, the value of the color will be exactly the ones set in the image, before the viewer applies the viewing color-correction.
Fill Style
The Fill Style is useful to fill a shape. Even if a shape is not closed, Autograph will implictly close the shape between the first and last point.
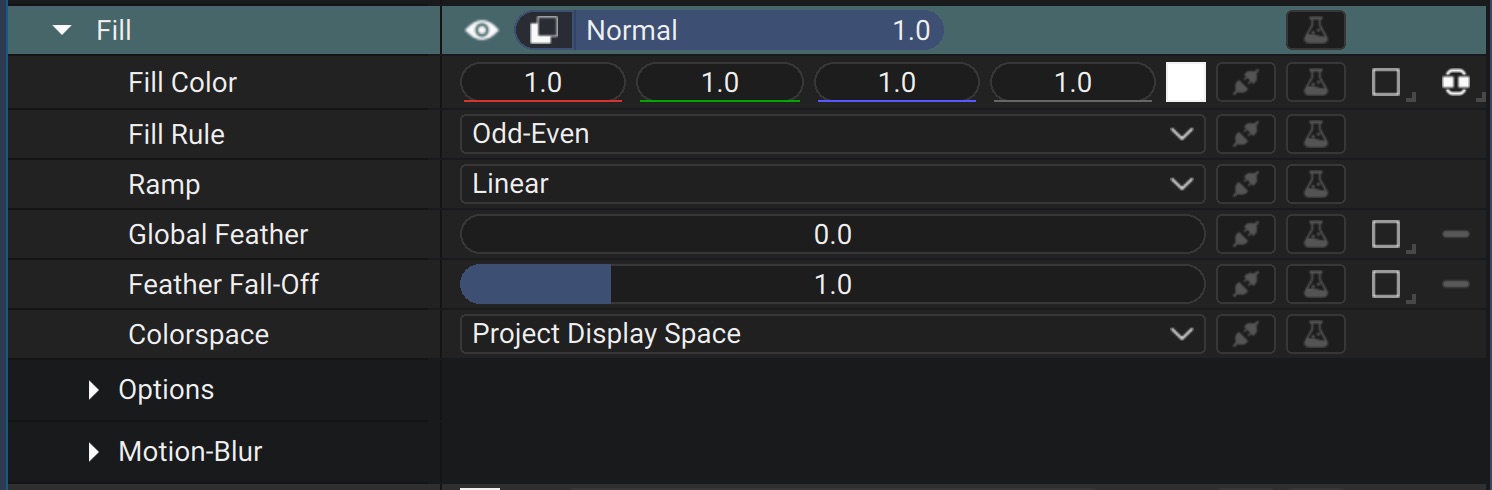
- Color: Controls the fill-color
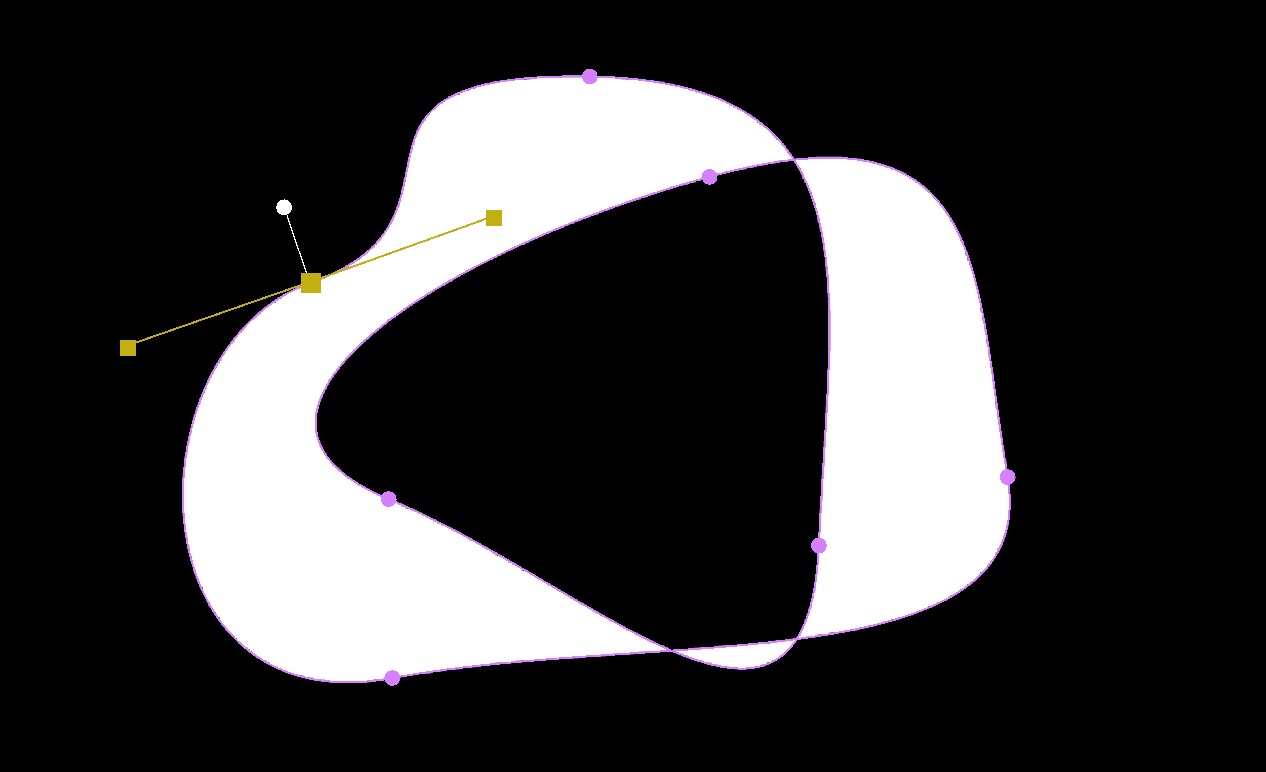
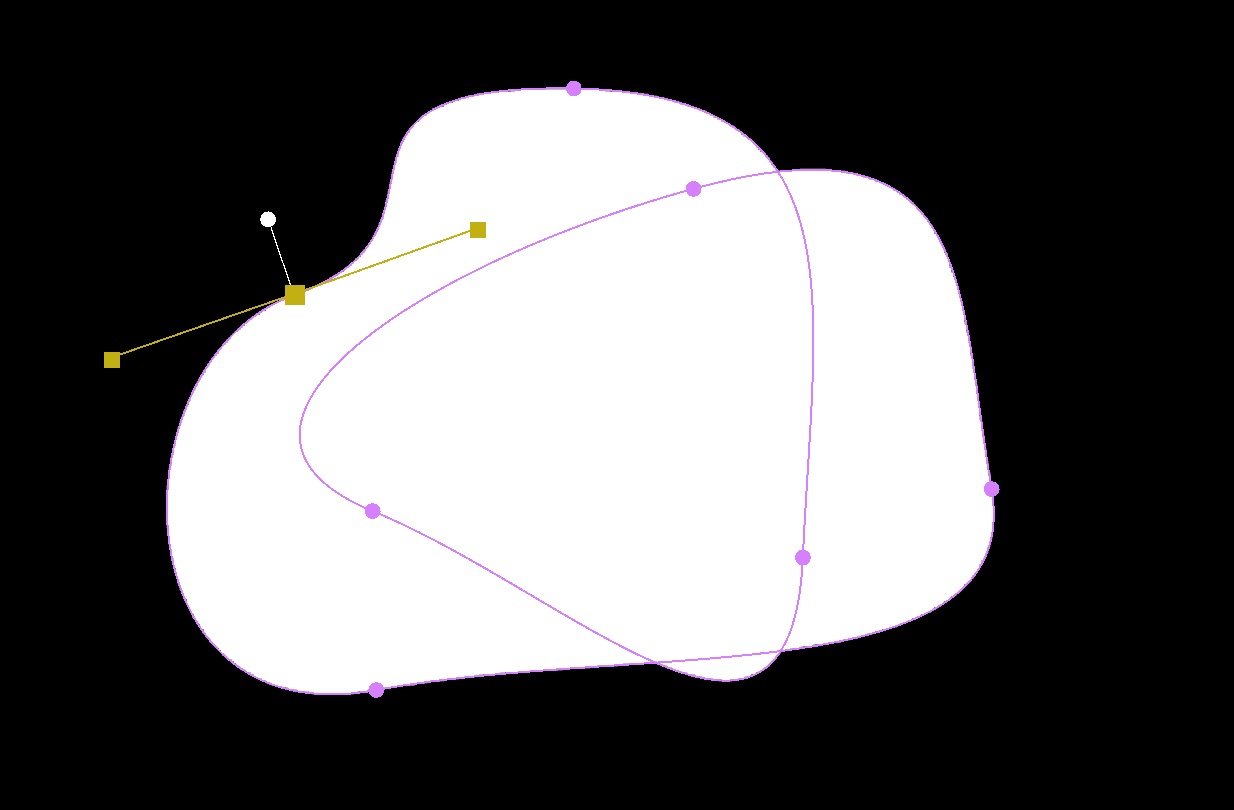
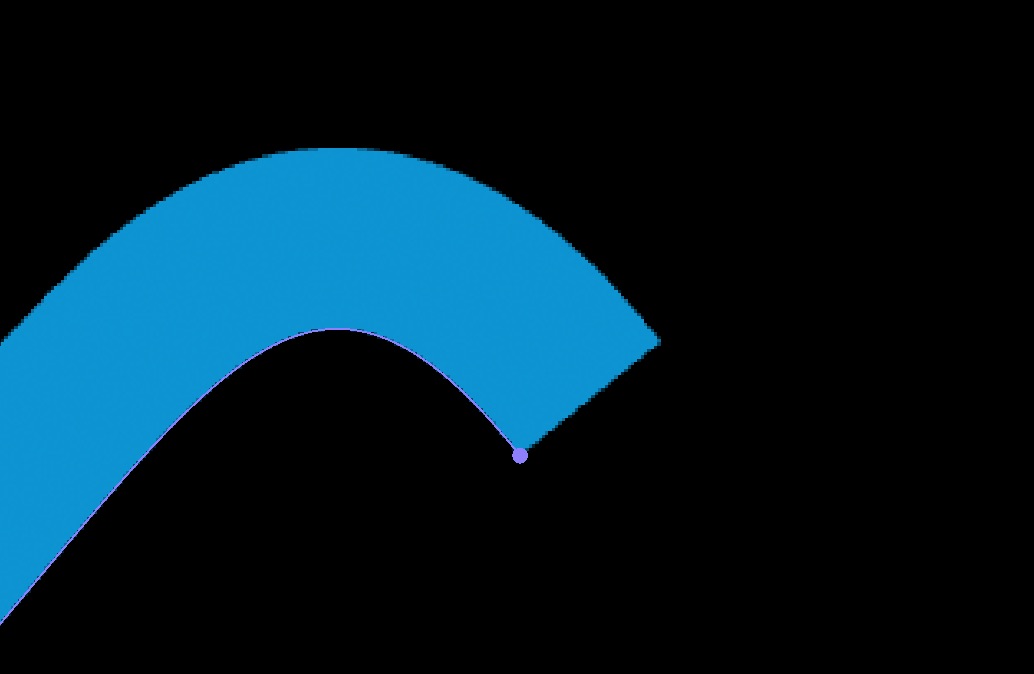
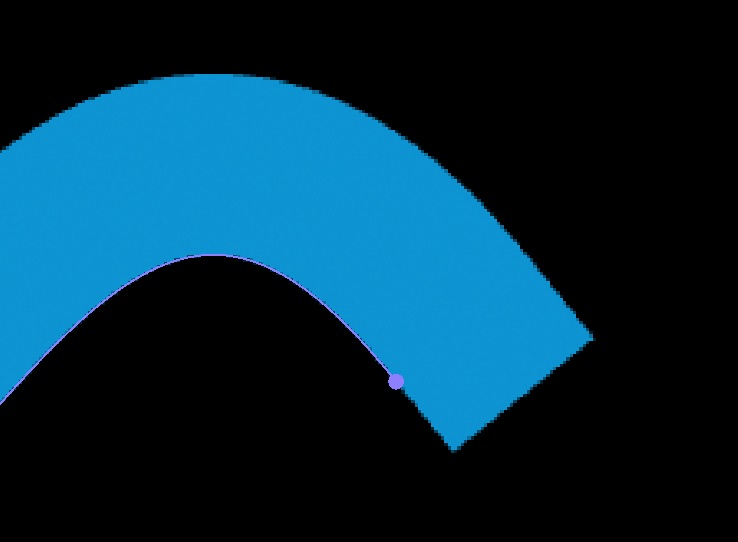
- Fill Rule: Controls how regions that are self-intersecting are rendered. The algorithm works by counting the number of times an imaginary line crosses a path to determine whether a region is inside or outside, called Winding Number.
If the rule is Odd-Even, the portion that's looping is considered outside:
If Non-Zero, the portion that's looping is considered inside
- Global Feather: Let's you apply a constant size feather ramp outside of the shape
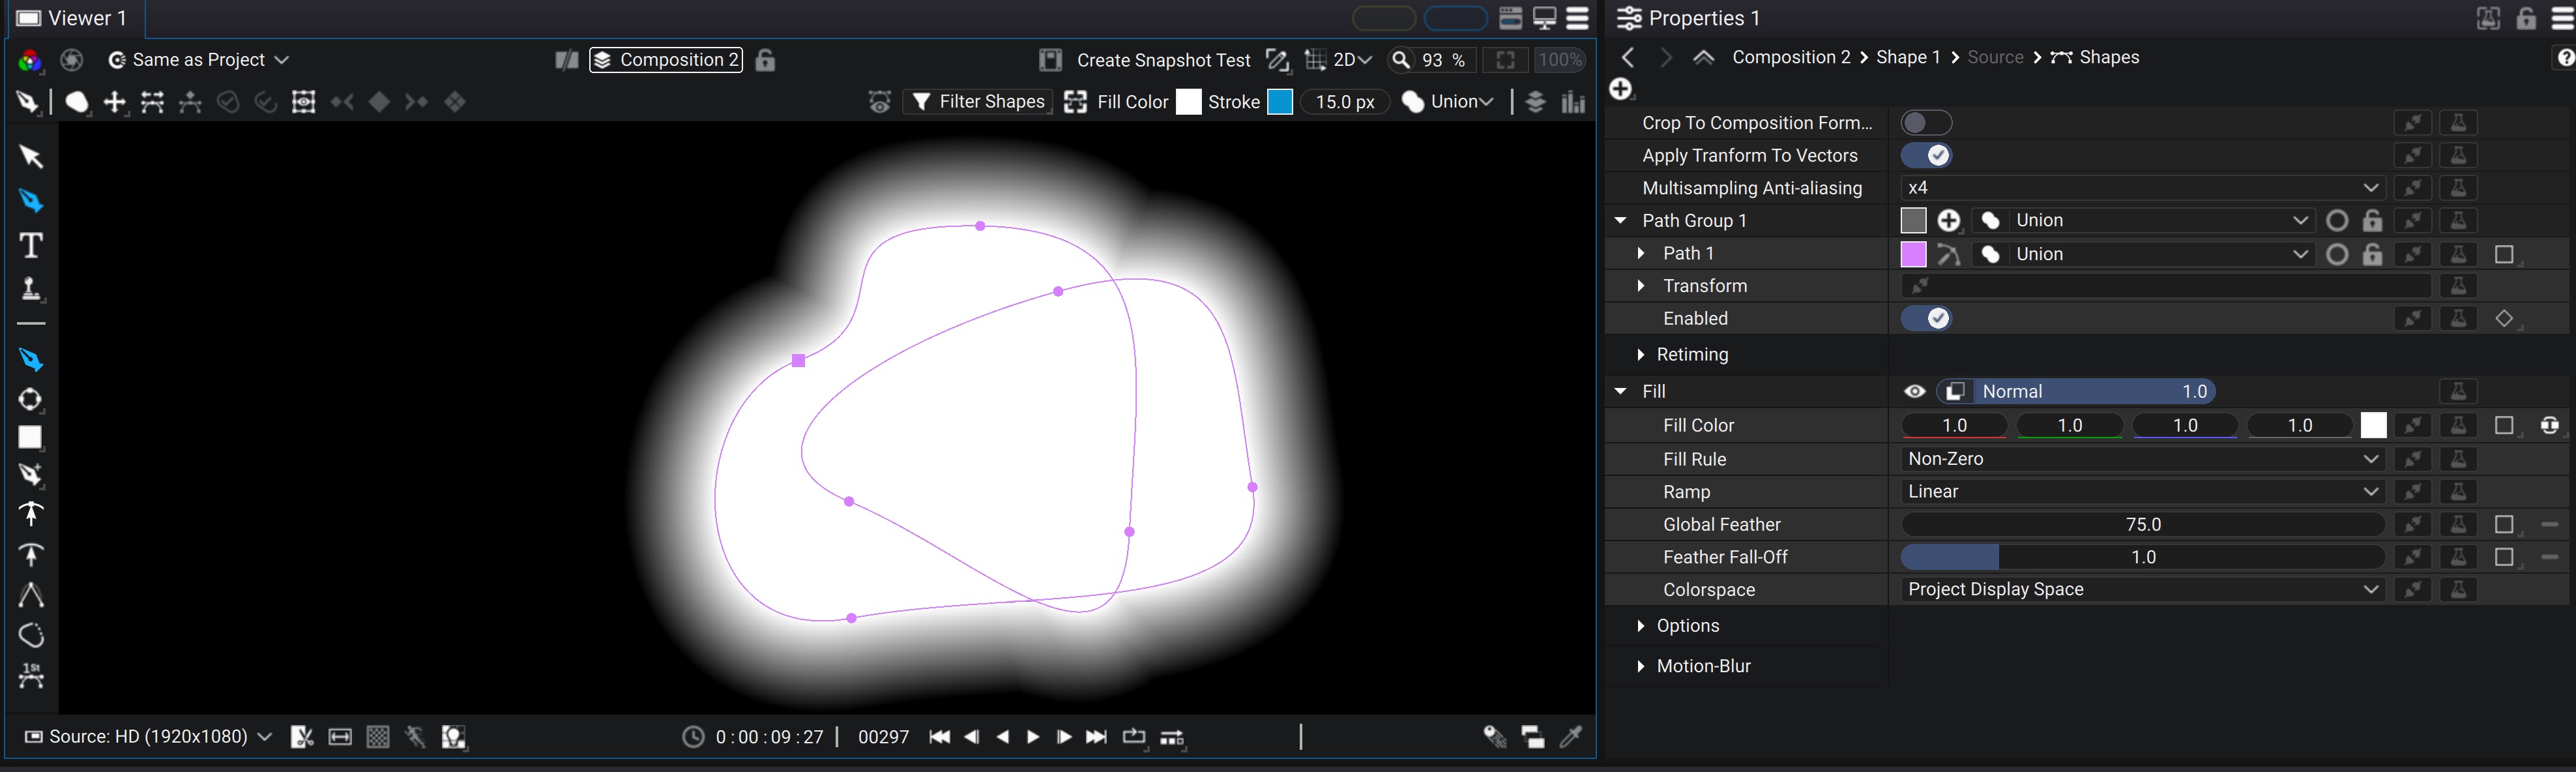
Global Feather is applied on top of the per-control point custom feather
- Ramp and Feather all-off control the steepness of the feather ramp
Stroke Style
The Stroke Style is useful to draw the outline of a path
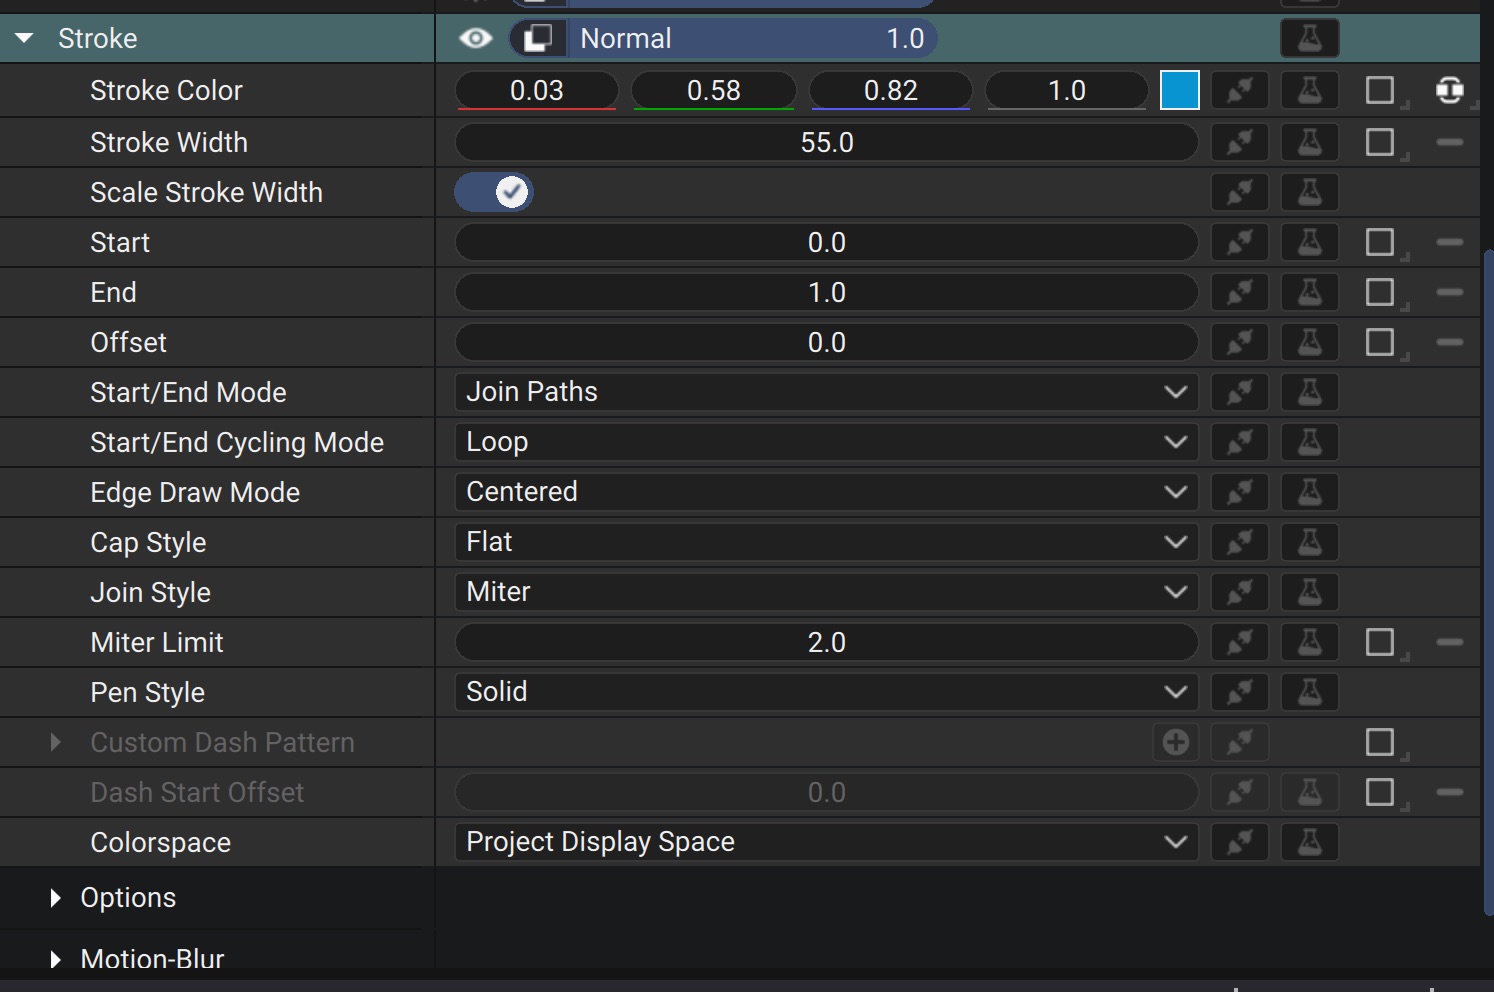
- Stroke Color: Controls the color of the outline
- Stroke Width: Controls the size of the outline
- Scale Stroke Width: Controls whether the Stroke Width is affected by the transforms of the path or remains constant sized
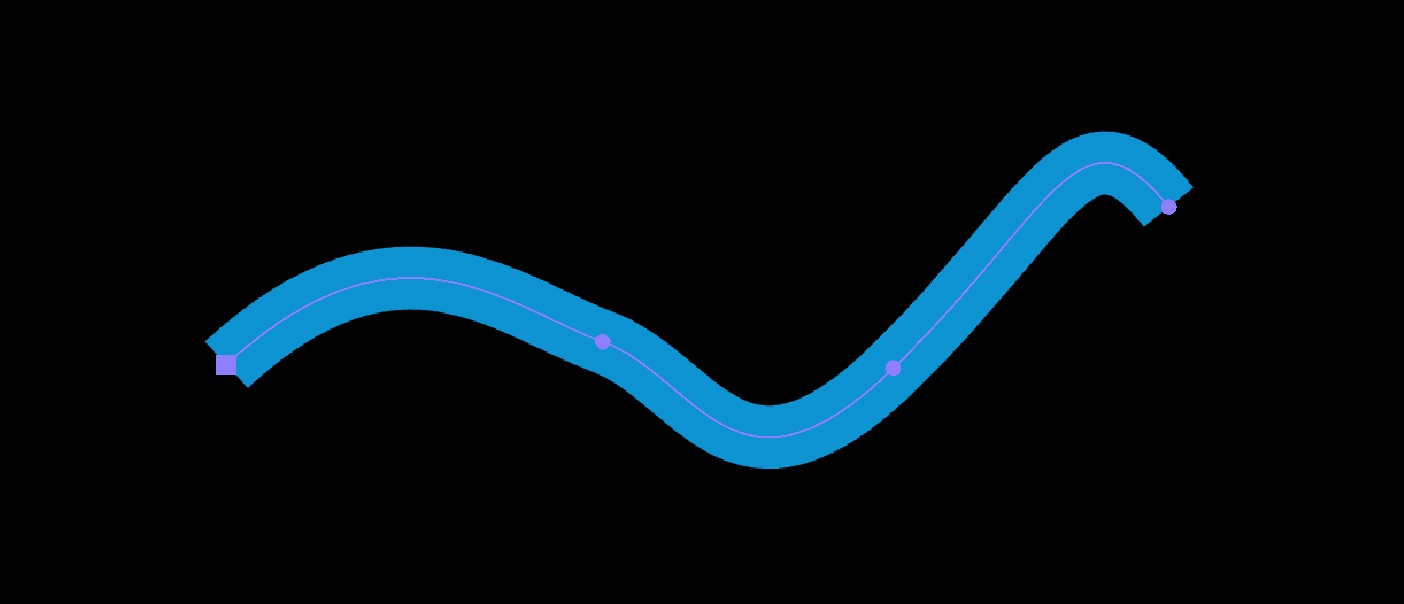
The Start, End options allow to trim the path from its begining and end, exactly as it you had set a Trim Path Modifier on the path.
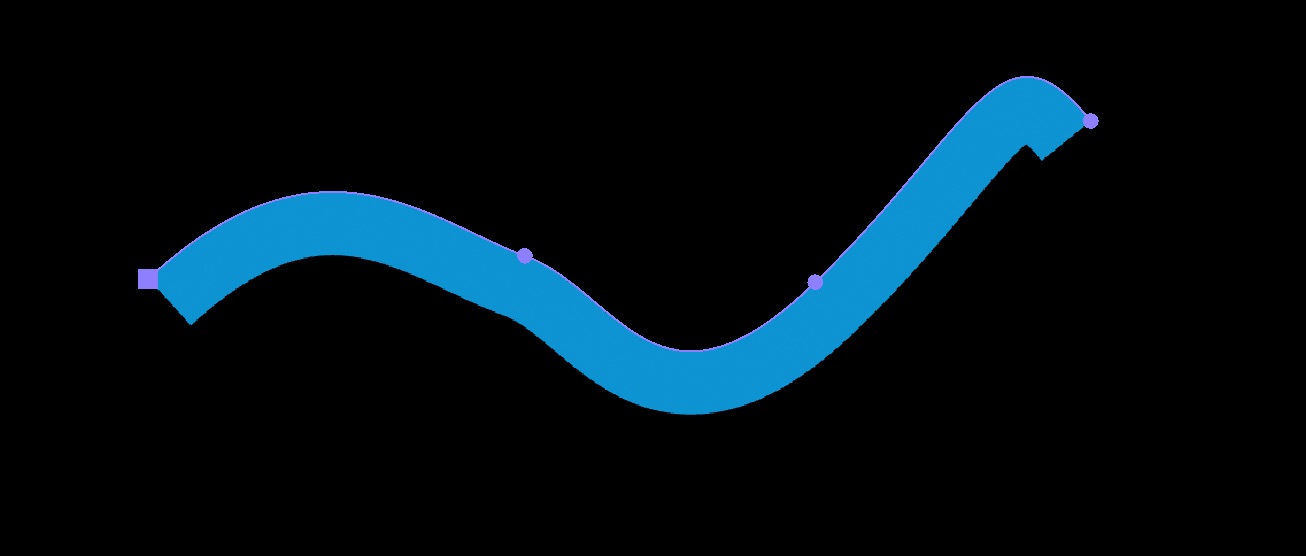
- The Edge Draw Mode option let's you offset the outline along the normal of the path
Inside:
Outside:
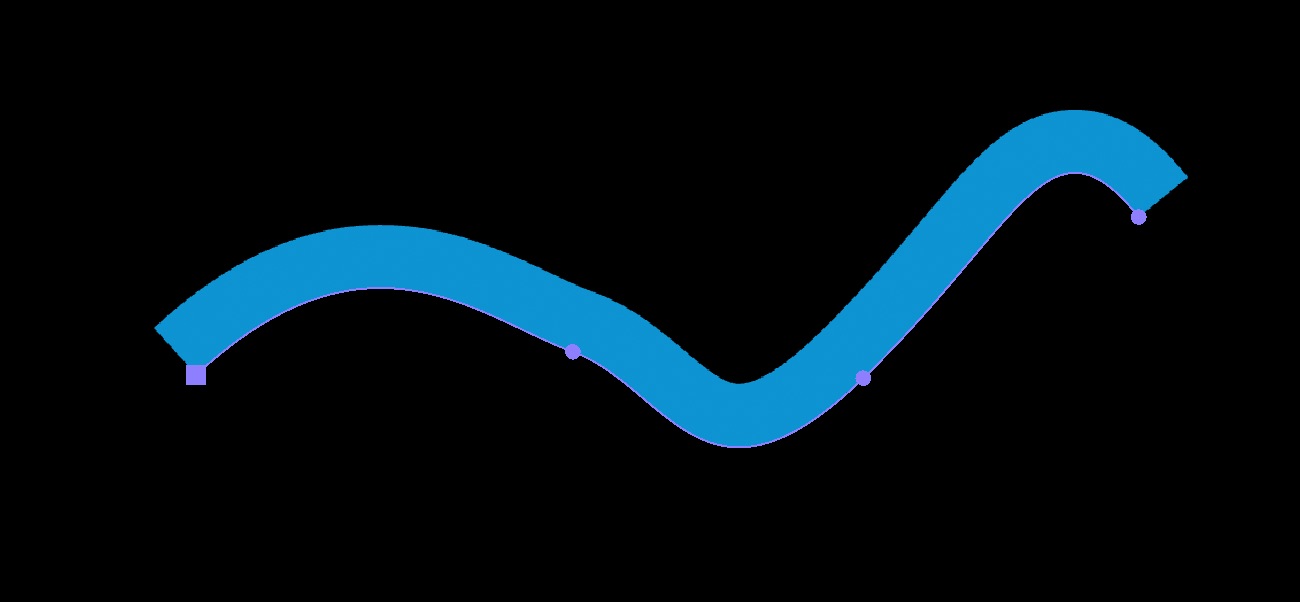
Centered:
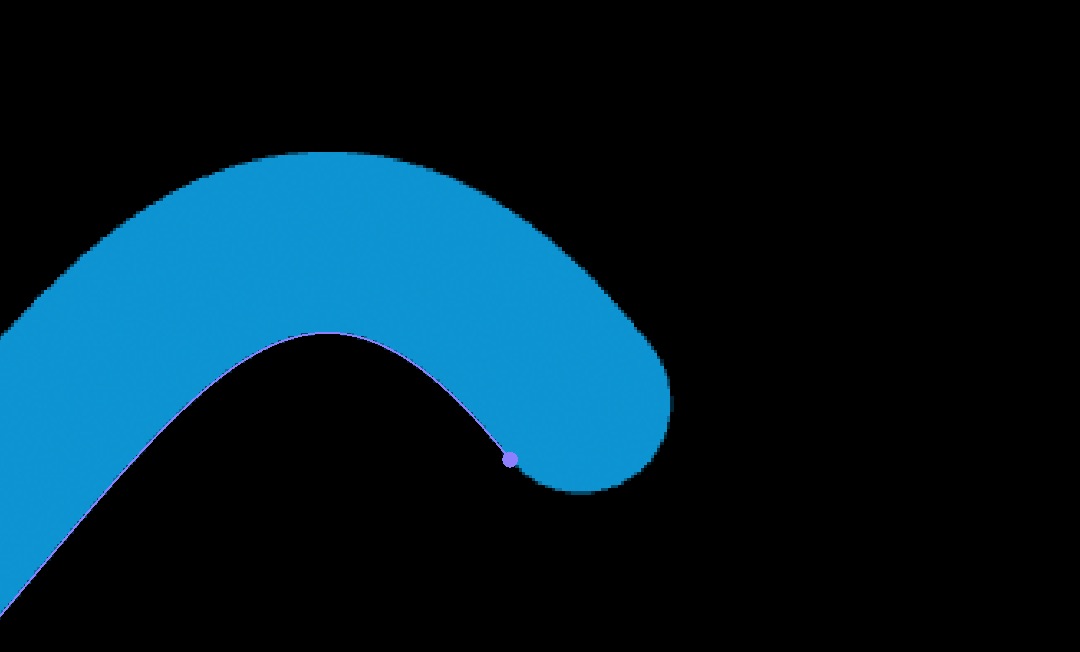
- Cap Style: defines the shape of the outline on the ends:
Flat:
Square:
Round:
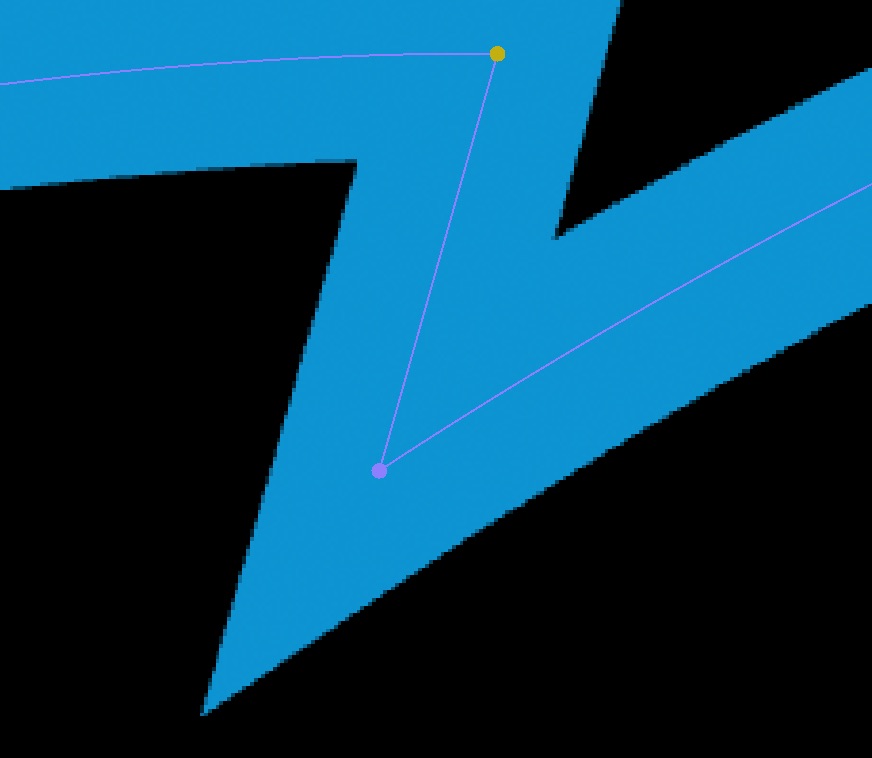
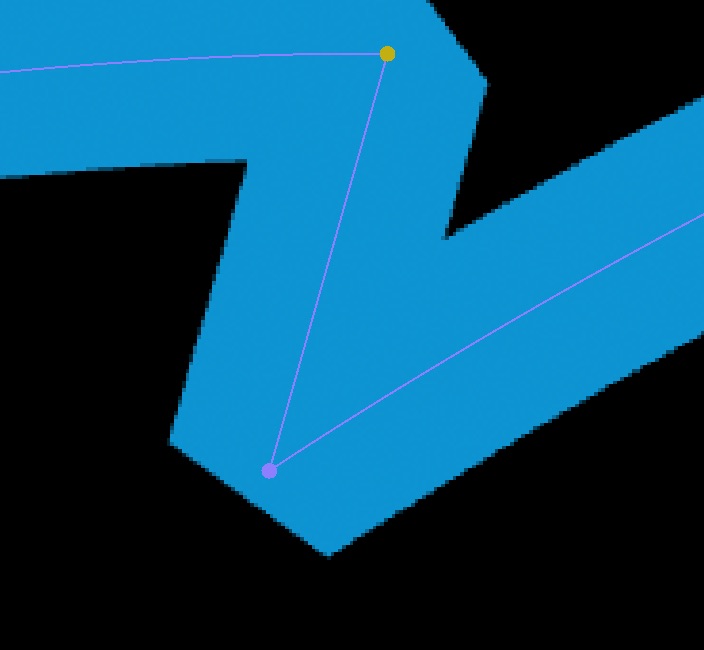
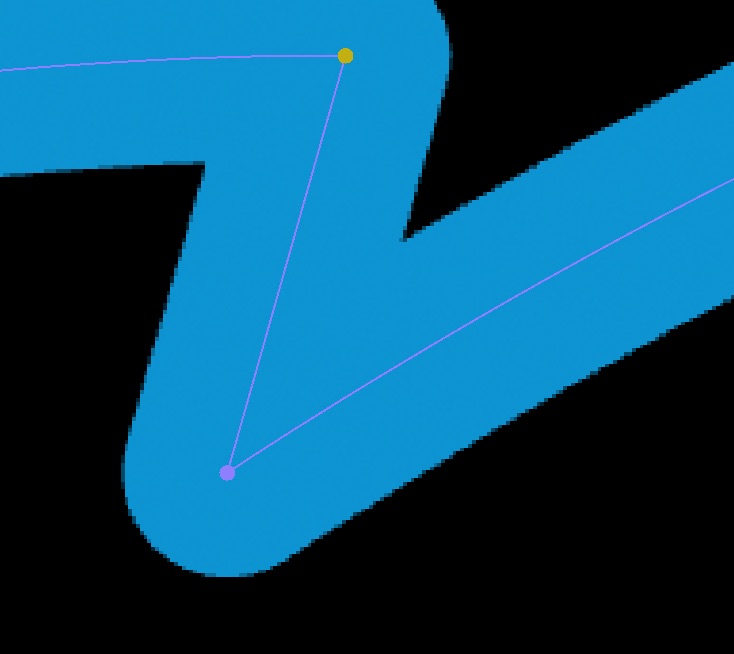
- Join Style: defines the shape of corners along the path:
Miter: Use Miter Limit to control the size of the point
Bevel: Cut the corner to apply a bevel shape
Round: Round the corner
-
Pen Style: Let's you choose between a preset style such as Solid or Dash. Optionally a Custom Dash Pattern can be defined
-
Dash Start Offset: Can be used to apply an offset when using a dashed style. Useful to animate the dashes of the outline.