Overview
2D Tracking is useful for extracting transform animation data from a video. Autograph refers to this tracked transform data as a model which can then be used to match move another image or stabilize the video.
To create a tracker, source your footage on a layer and add a Tracker from the Timeline.
![]()
Before attempting to track, it is important to review the footage you want to track. Play the sequence multiple times and observe features of the image that follow similar motion. Known issues when tracking are: objects that move off-screen or are hidden temporarily and motion blur. Note that in order to track properly, the tracker needs regions with visual discontinuities and edges. Tracking a flat surface with a smooth color will not work. This is why tracking plates often include tracking markers that were placed on set beforehand.
Depending on the motion you want to track, the kind of transform model being tracked may be one of the following:
- Location: The generated model will only affect the translation component.
- Location + Rotation: The generated model will affect both the translation and rotation component.
- Location + Scale: The generated model will only affect both the translation and scale component.
- Location + Rotation + Scale: The generated model will affect location, rotation, and scale. The model preserves parallel lines and angles.
- Affine: The generated model will affect location, rotation, and scale. The model preserves parallel lines.
- Perspective: The generated model will be a perspective transform, such as what is produced by a corner pin. The model preserves straight lines.
Both the Point and the Planar tracker can track the same models.
The Point tracker is useful for tracking a single point or for tracking several unrelated points that follow the same motion, for example, the 4 corners of a TV.
The Planar tracker does pretty much the same as the Point tracker except that it is easier to track a custom shape where all pixels in the shape follow the same motion.
For non-rigid tracking, i.e: deforming surfaces, you should look at the Vector Corner-Pin Modifier.
Tracker Viewer User Interface
Both the Point and Planar tracker share almost the same Viewer interface, so let's take a look at the toolbar here.
![]()
-
The 4 buttons allows you to launch the tracker either to track backward or forward. Note that the tracker will only track between the first and last visibility block of the layer.
-
The 2 buttons allow you to create pattern keyframes. The pattern is the reference area that the tracker tries to find in other frames when tracking. When tracking forward, the nearest backward pattern keyframe is the reference for tracking frames. When tracking backward, the nearest forward frame is used instead.
-
These buttons allow you to clear or reset partially-tracked data.
- Reset Marker Offset: For Point tracking, if you applied an offset on the pattern, this lets you reset it.
- Clear Animation Backward: Clears all tracked data before the current frame.
- Clear All Animation: Clears all tracked data. Note that it doesn't remove the pattern keyframes.
- Clear Animation Forward: Clears all tracked data after the current frame.
- Reset All Marker Data: Resets the track marker to default, it is the same as deleting and creating a new marker.
-
When Point tracking, the menu lets you select whether you want to track all markers at once or only selected ones.
-
The Tracker list drop-down menu lets you select which tracker is active, in case you created multiple trackers on your layer.
-
This menu contains the Tracker settings:
-
When in Point tracker mode, the Search Offset defines the default search offset for new markers, but can be overridden manually on each marker. The Search Offset indicates to the tracker how far it should look for the pattern in the previous/next frame. If too small, the tracker may fail for fast motions. If too big, the tracker will have to search in bigger areas and be much slower. Note that in Planar mode, the Search Offset option is only editable from this menu and cannot be overridden per shape. The default value of 20px is sometimes not large enough and may be adjusted.
-
Tracking Channels allows you to completely disable an image channel to affect the tracker results. This is useful for example when tracking a region that completaly lacks one of these colors: typically useful when tracking markers on a green screen wall.
-
Maximum Error: Higher values allow the tracker to succeed even for tracks that shifted a little.
-
Maximum Num Iterations: When the tracked frame is very different than the reference frame, increasing the number of iterations allows the tracker to iterate longer to find a solution. Note that this may slow down the tracker a lot.
-
Normalize Intensities: When tracking footage with changes of lighting throughout the sequence, enabling this option may help the tracker succeed.
-
Pre-Blur Sigma: Strength of the initial blur used by the tracker. Increasing this value may be useful for noisy footage, but is generally not needed.
-
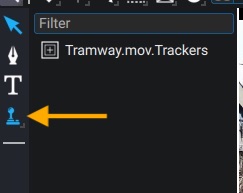
Note that when reloading your project, the tracking tool may not be active in the Viewer. To re-activate it, select it in the tools menu
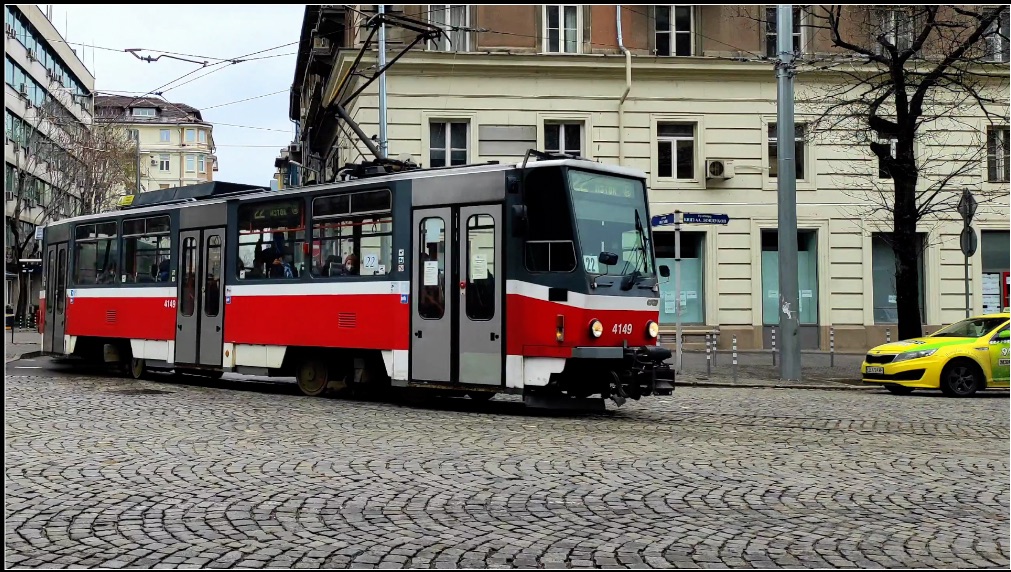
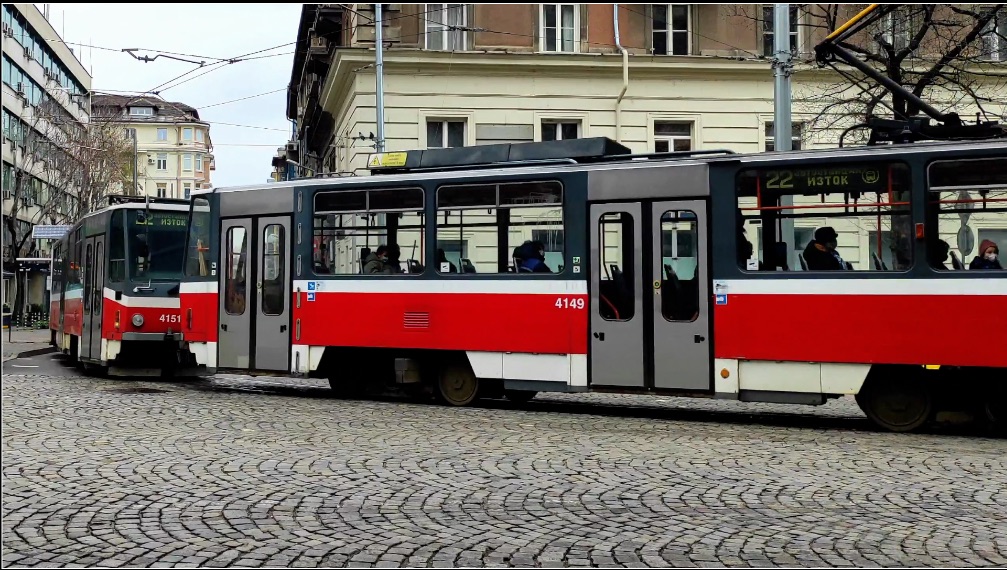
In the following section, we are going to cover both Point tracking and Plane tracking and then see how to apply the tracked model to match move or stabilize a video.
We will use a street car sequence with a fixed camera of a duration of almost 4 seconds.